Question from customer:
We are looking for a two button transmitter & two channel receiver. We need a dry contact that is closed when one button on the remote is pushed, the contact must open if the button is released. The second button/ contact must work in the same way. Ideally the operating voltage should be 220V AC if not a 12 or 24V DC. The current rating of the contacts can be very low, signal current only. Can you help?
Answer:
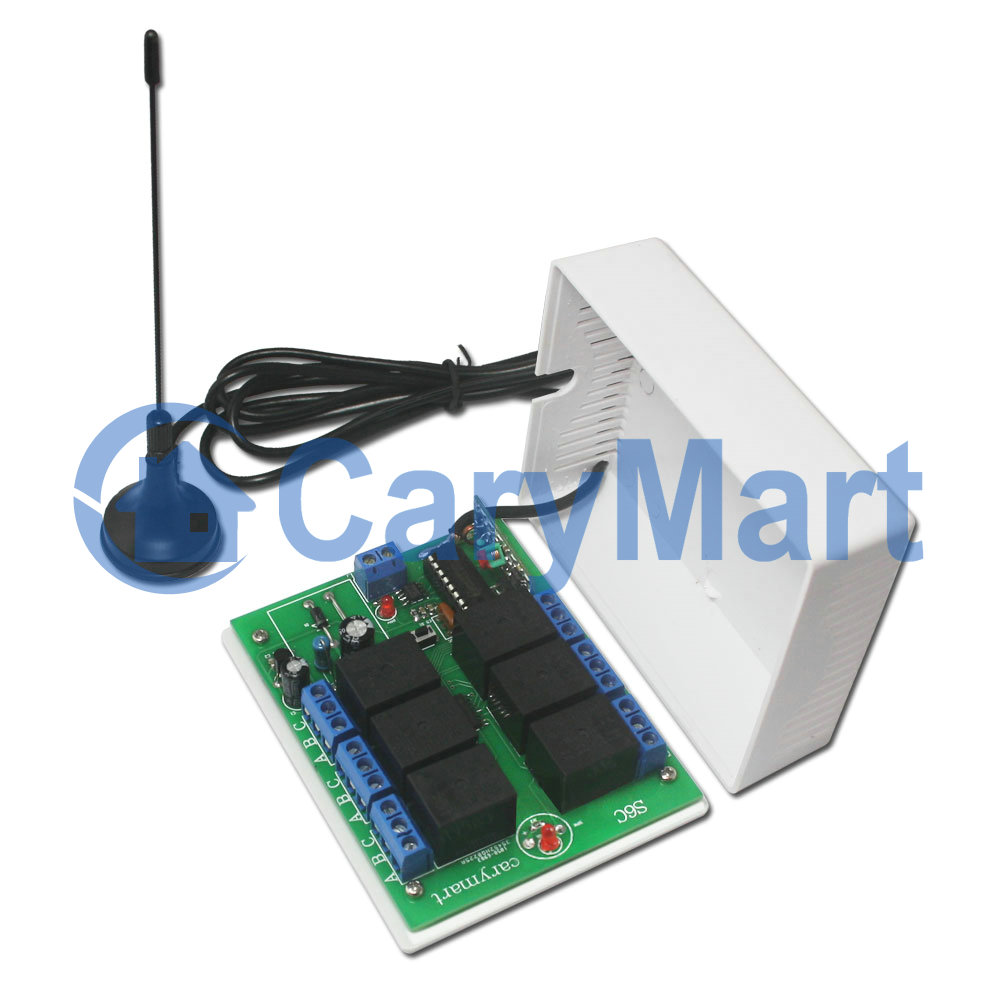
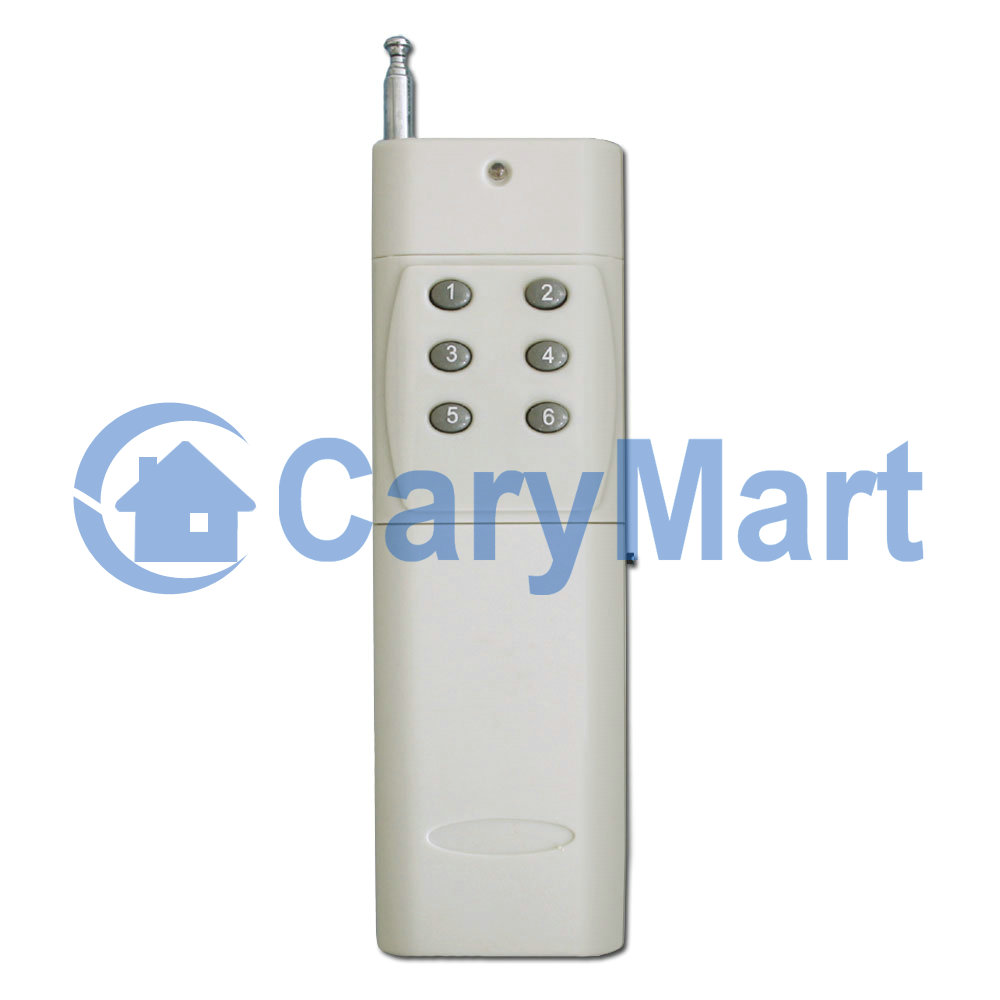
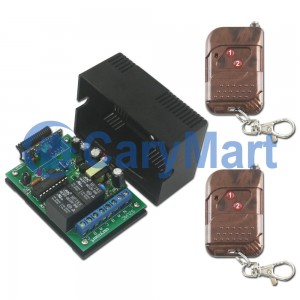
According to your requirement, we introduce you the equipment of wireless remote control dry contact: it is model S2U-AC220 & 2C-2. The receiver is two channels (S2U-AC220) and the transmitter has two buttons (2C-2).
You can wireless remote control the relay (dry contact) in the receiver by using the transmitter. The wireless RF signal can pass through walls, floors or doors , then can be received by receiver after you press the button of transmitter. If the working environment is within a reliable distance (100m/300ft theoretically), you can remote control normally closed or normally open of the relay (dry contact) with transmitter from any place.
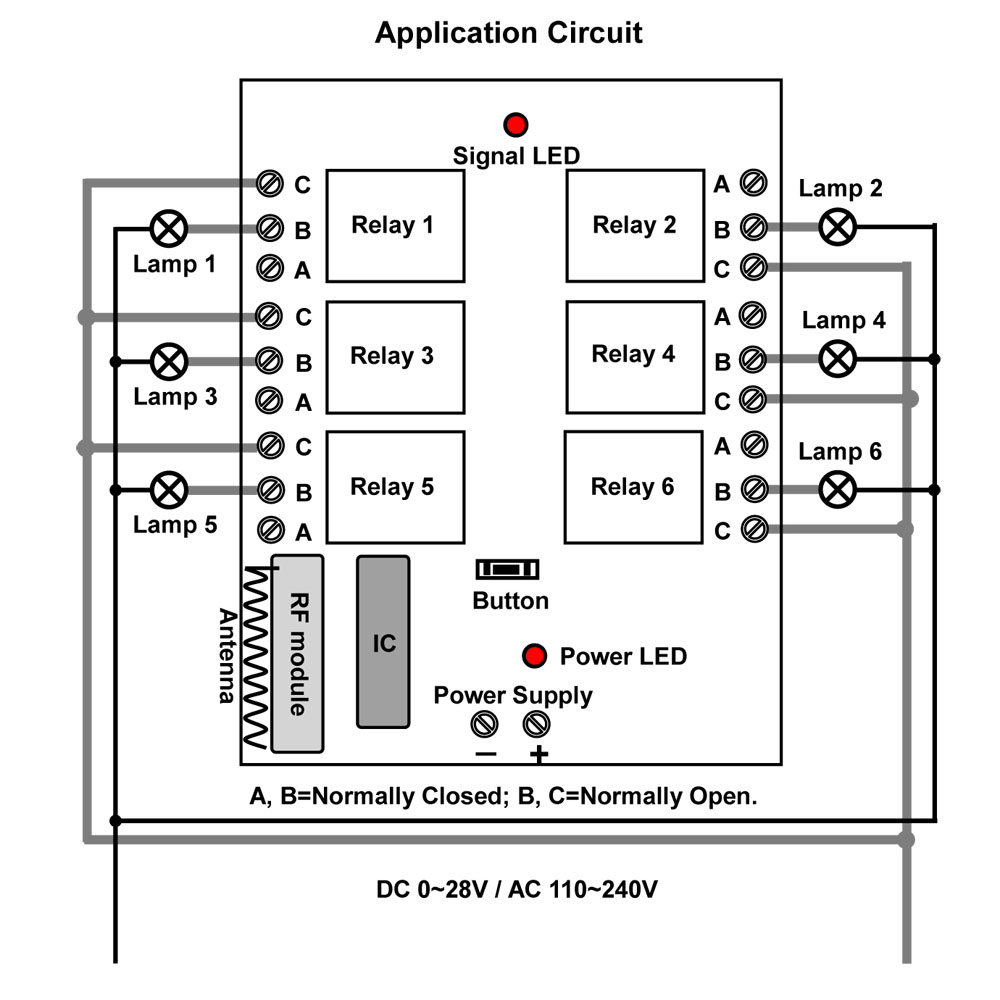
So it can be used to control lights, motors, fans, electrically operated doors /locks /windows/blinds/cars or other appliances with voltage AC110V~240V or DC0~28V. You can wireless remote control these appliances, if you mount the receiver in the appliances. Because when you remote control normally closed or normally open of the relay (dry contact) in the receiver , you can turn on/off the appliances.
There are four control modes for the equipment of wireless remote control dry contact, include: Toggle, Momentary, Latched, Momentary +Toggle .The four modes are all suitable and you can set modes as you like freely.
Setting control mode Toggle: Only connect Jumper-2.
Control mode Toggle: Press -> On; Press again -> Off.
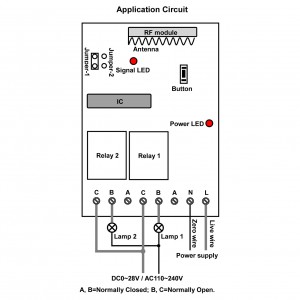
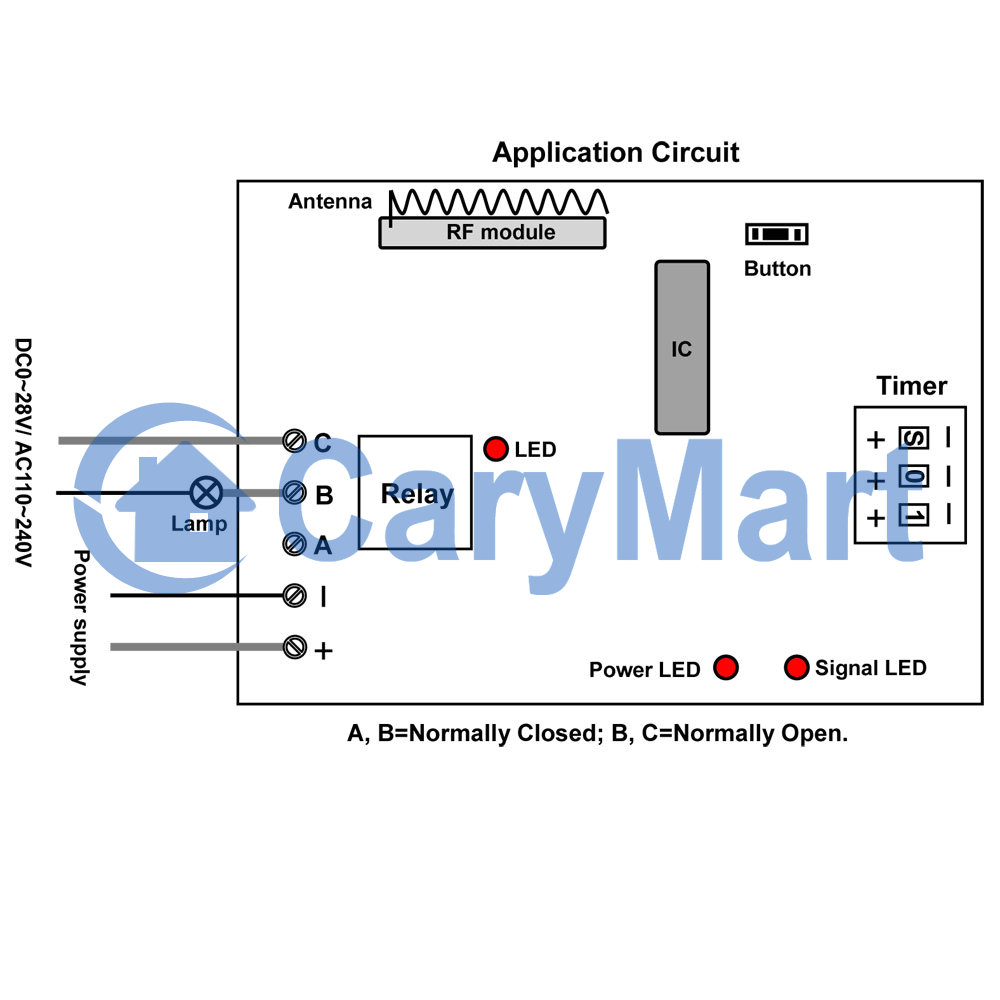
Press button 1: Turn on relay 1(connect B and C, disconnect A and B)
Press button 1 again: Turn off relay 1(disconnect B and C, connect A and B)
Press button 2: Turn on relay 2(connect B and C, disconnect A and B)
Press button 2 again: Turn off relay 2 (disconnect B and C, connect A and B)
Setting control mode Momentary: Only connect Jumper-1.
Control mode Momentary: Press and hold -> On; Release -> Off.
Press and hold button 1: Turn on relay 1(connect B and C, disconnect A and B)
Release button 1: Turn off relay 1(disconnect B and C, connect A and B)
Press and hold button 2: Turn on relay 2(connect B and C, disconnect A and B)
Release button 2: Turn off relay 2(disconnect B and C, connect A and B)
Setting control mode Latched: Do not connect Jumper-1 and Jumper-2.
Control mode Latched: Press -> On, another relay Off; Press another button -> Off.
Press button 1: Turn on relay 1(connect B and C, disconnect A and B)
Turn off relay t 1(disconnect B and C, connect A and B)
Press button 2: Turn on relay 2(connect B and C, disconnect A and B)
Turn off relay 2 (disconnect B and C, connect A and B)
Setting control mode Momentary + Toggle: Connect Jumper-1 and Jumper-2.
Control mode Momentary (Channel 1): Press and hold -> On; Release -> Off.
Press and hold button 1: Turn on relay 1(connect B and C, disconnect A and B)
Release button 1: Turn off relay 1(disconnect B and C, connect A and B)
Control mode Toggle (Channel 2): Press -> On; Press again -> Off.
Press button 2: Turn on relay 2(connect B and C, disconnect A and B)
Press button 2 again: Turn off relay 2(disconnect B and C, connect A and B)
So you can set anyone of the four modes as above processes.
Here is wireless circuit diagram. You can connect AC appliances to terminal of receiver. Then supply power to receiver. You just need to press button of transmitter as above processes and you can turn on/off the appliance through wireless remote control the relay (dry contact).
If you would like to know more something about the equipment of wireless remote control dry contact, you can enter into our website and search it as following:
Models: 0020333(S2U-AC220 & 2C-2)
Website:
http://www.carymart.com/
http://www.carymart.com/2-channel-ac110v220v-wireless-remote-control-rf-transmitter-receiver-for-on-off-devices-p-1236.html
 Follow