AC Lamp is Controlled by Non-adjustable Delay Time RF Remote Controller

We recommend 1 channel 110V~220V customized delay time controller (S1RD-AC220+C-2). At first, it must be set delay time in advance. According to your own actual requirement, you can set delay time you want. e. g. delay time: 20 seconds. You cannot change delay time once it is set. It is applied for controlling lights, motors, fans, electrically operated door/ lock/windows/ blinds/ cars or other appliances with AC 110~240V or DC 0~28V. You can turn on/off device on the receiver with transmitter from any place within reliable distance (theoretical distance 100m), the wireless RF signal can pass through wall, floors, doors and other obstacles.

time delay remote controller

Wiring:

Initial state: B, C = Normally Open; A, B = Normally Closed.

AC lamp is wired to normally open terminals B&C. And add additional ac power to AC lamp.

circuit

The delay time is set in advance. It is non-adjustable.

Press button 1: Turn on the relay (connect B and C, disconnect A and B)

After delay time, turn off the relay by itself (disconnect B and C, connect A and B)

During the delay time, press button 2: Turn off the relay straightway (disconnect B and C, connect A and B)

315Mhz/ 433Mhz DC Motor Controllers Control Lawn Mower Motors

Question from customer:

“I received the item— 2 channel motor controller( S2PF-DC12+1CV-6-2) and installed it yesterday on my remote control lawn mower that I have made. Per the instructions for momentary control, I can get 1 motor to work at a time, either motor but only one and only in forward. I then changed, per your instructions for latch and each motor will go forward if started with remote, #1 and then #2 both will run forward only, but they cannot be controlled to go in the direction that I choose. Neither motor will reverse in any mode. I have to be able to control each motor independent of each other so I can drive the mower right and left to go the direction I want. Please advise!”

lawn-mower

Answer:

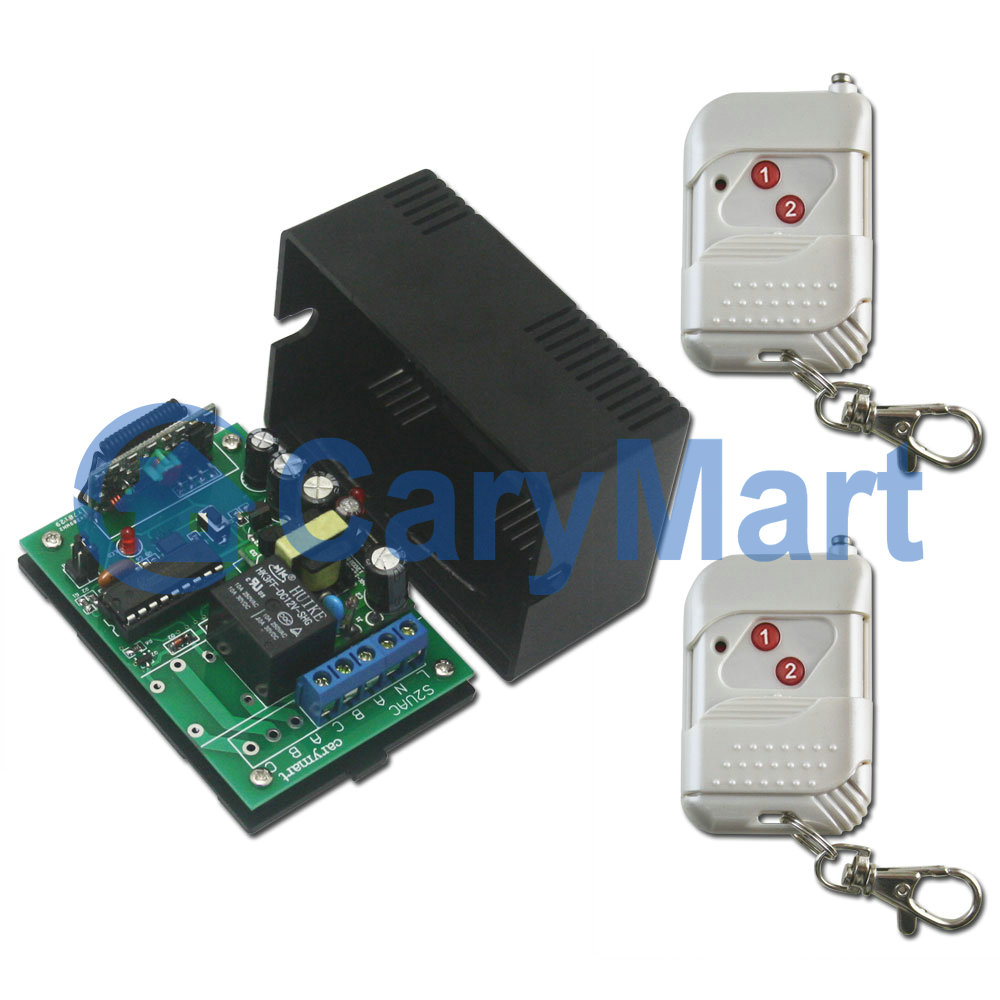
You chose the 2 channel motor controller. Although the controller has two relays for two motor, two relays will work in the same mode. That is to say, your two motors only work in momentary mode or latched mode for one time. We recommend two sets of 1 channel dc motor controllers (S1PF-DC12+1CV-4-2), which is only 30amps output and 500m/1500ft transmission distance. It controls DC motors of rolling blinds / doors, projection screens, awnings, pumps, winches, conveyors or other appliances and mechanicals with voltage DC12V / 24V. There are two transmission frequencies, 315Mhz /433Mhz for this controller. You can install one controller set in 315Mhz to one motor, and install another controller set in 433Mhz to another motor, so that you can control each motor independent of each other. Each motor can be controlled by its only transmitter. It won’t generate any interference each other.

1_01_1

Usage:

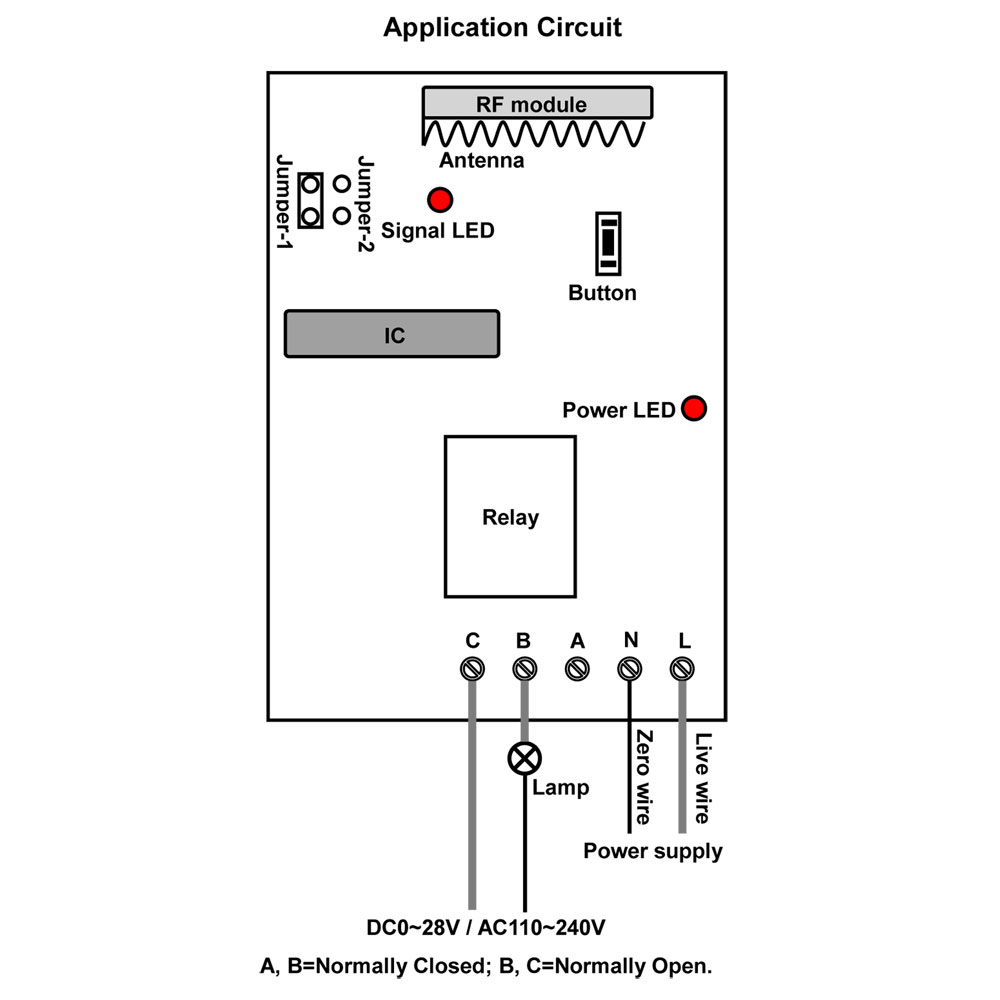
Connect power supply DC12V / 24V to terminal “INPUT”; connect motor to terminal “OUTPUT”.

1_06

Setting control mode Latched: Do not connect Jumper-1 (CN1) or Jumper-2 (CN2)

Press button ▲: motor rotates in positive direction

Press button ■: motor stops

Press button ▼: motor rotates in reversal direction

Press button ■: motor stops

Setting control mode Momentary: Only connect Jumper-1 (CN1)

Press and hold button ▲: motor rotates in positive direction

Release button: motor stops

Press and hold button ▼: motor rotates in reversal direction

Release button: motor stops

Each receiver has two controlling modes, so you can set receiver 1 for latched mode and receiver 2 for momentary or set receiver 1 for momentary mode and receiver 2 for latched mode.

Wireless Remote Control Kit with Adjustable Resistor for DC Lamp

We recommend this kind of remote controller-dc rf remote controller kit with timer (S1D-DC12 & C-1), which operates in the 315/433 MHz frequency and is actuated by DC 6V, 9V, 12V and 24V. There is an adjustable resistor being installed in it. Working time of this remote controller can be adjustable between 2-40 seconds by using a screwdriver to twist the top of resistor. It can be applied to controlling lights, motors, fans, electrically operated doors/ locks/ windows/blinds/ cars or other appliances with voltage AC 110~240V or DC 0-28V.

remote controllercircuit

We’d like to show you the procedure of controlling dc led lamp.

material

Wire led lamp to A&B terminals of receiver. And supply power to receiver and led lamp.

wiring diagram

wiring

Press button to turn on lamp, after 2~40 seconds delay time (It depends on the position of R1): Turn off lamp by itself.

4 seconds

Turn R1 clockwise with screwdriver, prolong the delay time. Press button to turn on lamp and prolong delay time more than 4 seconds…

prolong delay time

Turn R1 anti-clockwise with screwdriver, and shorten the delay time.

Press button to turn on lamp and shorten the delay time.

shorten delay time

Video:

Remote Control System with Status Restore Function

We recommend this DC power no/nc contact memory function RC system (S1MU-DC06/09/12/24 & C-2). This remote control switch operates in 4 kinds of voltages, including 6V, 9V, 12V and 24V. It can remote control lights, motors, fans, electrically operated doors/locks/windows/blinds/cars or other appliances actuated by voltage ac 110~240V or DC 0~28V. Its transmission distance is 100m. There are 4 working modes in it. So you can switch working mode by connect and disconnect jumper. With function of memory, if the power is cut off, the relay will return automatically to the previous status after the power is restored.

memory remote controller

We’d like to show the wiring and controlling of ac, dc lamps.

The contact of relay of each receiver is normally open/ closed. So you need to wire ac lamp or dc lamp to normally open contact B&C and supply AC 220V power or dc power to lamp.

wiring diagram

Operation:

Setting control mode Toggle: Only connect Jumper-2.

Control mode Toggle: Press -> On; Press again -> Off.


Setting control mode Momentary: Only connect Jumper-1.

Control mode Momentary: Press and hold -> On; Release -> Off.


Setting control mode Latched: Do not connect Jumper-1 and Jumper-2.

Control mode Latched: Press -> On, another relay Off; Press another button -> Off.

Remote Control Car Backup Camera

Overview:

I would like to turn on/off the wireless reversing camera on my car (12V). What device can you recommend?

car-reversing-camera

Solution:

We recommend this 1 channel 12V universal remote control model (S1U-DC12-ANT1+C-2).

You can wire reversing camera power lines to normally open terminals B&C of receiver. Receiver and reversing camera can share the same power supply (12V) together.

wiring-diagram

This 1CH rf remote control switch operates in toggle, momentary and latched control mode (set the mode as you like freely). And you’d better choose toggle mode or latched mode. It is great for hard to reach lights or other DC/AC electrical devices. With external telescopic antenna, the receiver has farther working range (about 100m).

1_02

Operation:

Setting control mode Toggle: Connect Jumper-2.

Control mode Toggle: Press -> On; Press again -> Off.

Press button 1: Turn on the reversing camera (connect B and C, disconnect A and B)

Press button 1 again: Turn off the reversing camera (disconnect B and C, connect A and B)


Setting control mode Latched: Disconnect Jumper-1 and Jumper-2.

Control mode Latched: Press -> On, other relays Off; Press another button -> Off.

Press button 1: Turn on the reversing camera (connect B and C, disconnect A and B)

Press button 2: Turn off the reversing camera (disconnect B and C, connect A and B)