Parking blocks, stop to thefts of places

There’s nothing more frustrating than going home after a hard day’s work or coming home from vacation to find your parking space occupied!!

A parking space is yours because it is allocated to you when you buy or rent an apartment.

The owners of the vehicles that park on your parking space are probably unaware that it is a reserved space, and that is why, in any case, installing a parking block or a parking arch (or barrier) clearly informs the driver of the undesirable vehicle that he does not have to park at this location.

remote control

Why equip yourself with a parking arch?

Practical and easy to use, a parking roll bar is a simple and effective way to reserve and secure your pitch.

Parking barriers are very popular best universal remote accessories for reserving parking spaces; they can be mechanical or automatic. There are several models exactly adapted to your needs.

Among the different barriers dedicated to parking areas we can mention the parking arches which are generally fixed to the ground by three supports, the parking posts which are made up of a single base, the parking blocks, the barriers, etc…

So, Carymart, barrier or parking block

Starting from a basic model, a parking arch with padlock closure is characterized as a folding and very resistant obstacle made of galvanized steel 32mm in diameter and as a perfect tool to ensure the availability of your parking space at any time. It is fixed to the ground and folds easily with a single movement held by the lock of a padlock. parking barrier

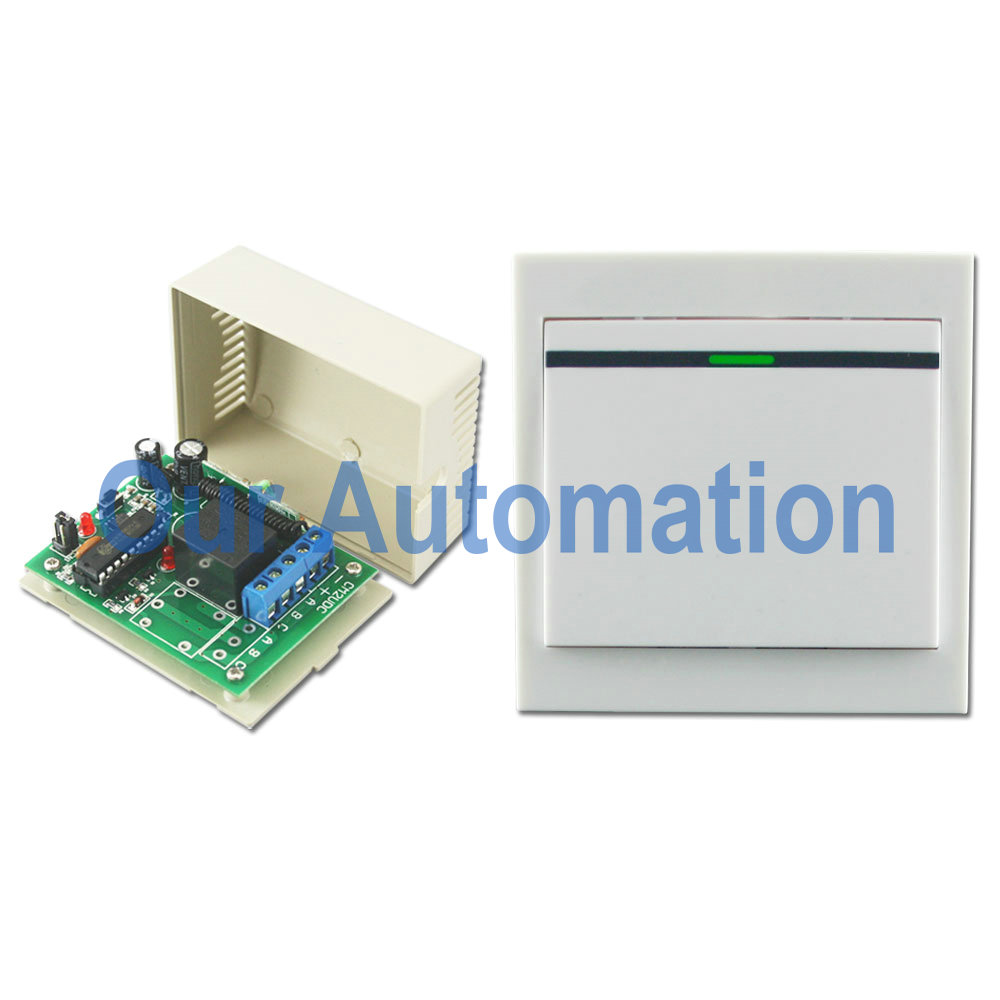
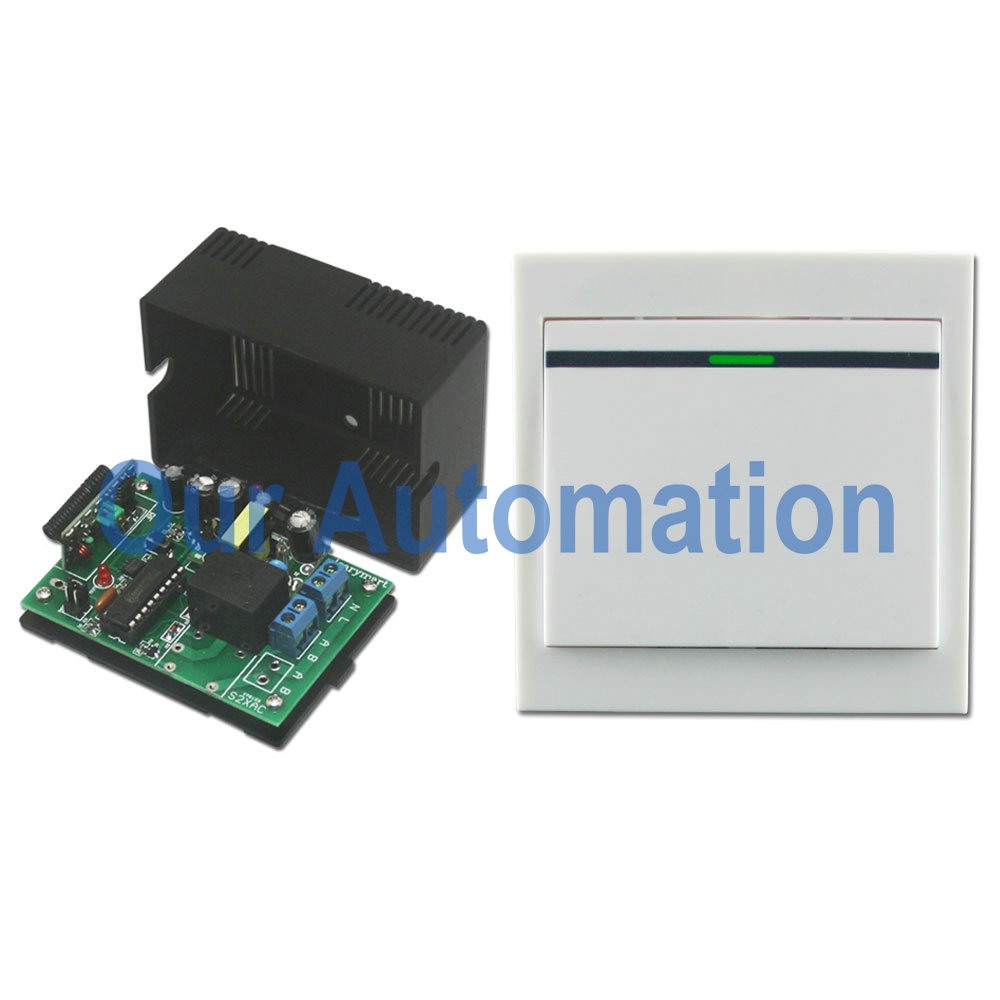
The ultimate is the automatic parking barrier. Ingenious and extremely comfortable, it allows you to reserve or free your parking space while remaining on board your vehicle thanks to its wireless remote control.

For safety, this parking barrier is equipped with a pressure and intensity sensor. When it is closing and encounters an obstacle (chassis, bumper, etc…) it goes back the other way (opening) in order not to create any damage to people and vehicles.

The pole or parking block is made of 3mm galvanized steel and its cast iron base has 4 anchors for better stability and solidity. It is a perfect deterrent and its reflective strips allow it to be seen from a distance.

rf remote

A few words to sum up

Retractable, foldable, autonomous or automatic, these protection and safety devices will make your life easier and softer since you will never have to worry about whether your seat is free at any time of the day.

How to remote control compressor, blower and pump?

I am looking to convert a keyed rotary switch with a remote control switch. The switch has 4 positions, position 1 is all Off. Position 2 lower (turns on compressor) Position 3 Raise (turns on a blower) and Position 4 Drain (turns on a pump). These are turned on individually not all at the same time. The voltage required to power the remote control is AC220V. No current is required to power the devices. The relays are basically open or closed. I would like a 4 channel RF product so I have one channel spare. Can you assist me with what product suits this please.

{S2CIJ`3}[WDS1E7JHMHG0N

According to the descriptions from this customer, we recommend him 4 CH Relay output long range waterproof case wireless remote control kit 002045 (S4PU-AC220-ANT3+1CB-4). Set the receiver S4PU-AC220-ANT3 with Latched mode, then connect compressor to relay 2 in the receiver, connect blower to relay 3 in the receiver, connect pump to relay 4 in the receiver. This remote control kit is composed of a 4-channel receiver and 4-button transmitter that can be used in agriculture automation, industry automation, and home automation. It can control products on land, water and air, especially in a long distance, such as business signs, motorboat, farm, pasture, offshore unmanned operation, field call, remote security alarm, unmanned aerial vehicle, etc. Connected the compressor to the relay 1 of the 4 CH receiver, connect the blower to relay 2 of the 4 CH receiver, connect the pump to the relay 3 of the 4 CH receiver.

1

There are some remarkable characteristics of this 4 CH Relay output long range waterproof case wireless remote control kit.

Waterproof Function: The 4 channel receiver has waterproof connector and waterproof shell/case, so it can be installed outside.

Working Distance: With external telescopic antenna, this remote control kit can have further working distance. The working distance of the kit can reach 2000m in an open ground. If you stretches the external telescopic antenna, it can have a further working range.

Relay Output: The 4 CH receiver is relay output that can be used to operate both DC and AC equipments. The terminal is NO / NC (normally open / normally closed), which serves as a switch. That means you should also connect a separate power supply to it.

Power Output: Each relay output can work at maximum current 30A. The maximum power of the device is 3000W/110V, 6000W/220V. So it also can be used in agriculture and industry automation, such as long range and high power remote control devices.

Input control terminals: The receiver has four input control terminals, you can connect external devices, sensors, or manual switches to these terminals to control the outputs of receiver.

Three Control Modes: The 4 channel receiver has toggle / momentary / latched working control modes. We use latched control for 4 positions keyed rotary switch.

How to set working control mode?

Set toggle control mode (Press -> On; Press again -> Off): Only connect Jumper-2

Set momentary control mode (Press and hold -> On; Release -> Off): Only connect Jumper-1

Set latched control mode (Press -> On, other relays Off; Press other button -> Off): Disconnect Jumper-1 and Jumper-2

ZEBFZYY8V6Y[]JE(IXS]1AD

We use 3 lamps to instead the compressor, blower and pump. Now let’s change the keyed rotary switch to remote control switch.

Material Preparation:

Receiver: S4PU-AC220-ANT3

Transmitter: CB-4

3 Lamps

A keyed Rotary Switch

Some Lines

M

The Wring Diagram:

Just as the following pictures. Connect 3 lamps and 4 positions keyed rotary switch to the 4 Ch receiver. The black wire of the 3 lamps is connected and connect the other black wire to terminal “-“. Connect the red wire of 3 lamps respectively to terminal “A” of relay 1, relay 2 and relay 3. Connect red wire and black wire of the plug respectively to “+” and “-“ of the power. Please note that the red wire used to control lamp1 (compressor) should be connected to terminal A of the relay 1, the red wire used to control lamp2 (blower) should be connected to terminal B of the relay 2, the red wire used to control lamp2 (pump) should be connected to terminal B of the relay 3. The red wire used to turn off the equipments should be connected to terminal B of the relay 3.

W

Operation:

Press button A of the transmitter, the lamp 1 turns on.

1

Press button B of the transmitter, the lamp 1 turns off and the lamp 2 turns on.

2

Press button C of the transmitter, the lamp 2 turns off and the lamp 3 turns on.

3

Press button D of the transmitter, turn off all of the lamps.

4

Online shop: http:www.carymart.com

Remote Controller is Applied to LED Lamp for Decoration

When you use led lamps to decorate your bed room, your balcony, your garden, your yard or do something glowing Christmas lighting ornament outdoor, you must be very tired with complex wiring, we try to make those wiring procedure easier.

lighting-decoration

A wireless wall-mounted switch and dc output receiver can be a new remote control unit (S1X-DC12&HR-1). It is dc power output so you can use it to control DC 0~28V actuated electrical devices off/on. This wall mounted switch is like ordinary wall switch from appearance, but it is wireless and operated by RF signal that can pass through walls, floors and doors. It is be affix to any place you want by double faced adhesive tape. The switch works with DC power output receiver, you LED lamps can wired to output terminals of receiver and also get power from them.

wall-mounted switch&receiverwall-mounted switch

Here is the wiring diagram.

Wire dc led lamp to OUTPUT of receiver. And add power supply to receiver. This kind of receiver is designed for DC output terminals so that lamp can get power from output terminals of receiver directly as mentioned above.

wiring diagram

Setting different control modes (We usually set toggle for lamp controlling.)

Setting control mode Toggle: Only connect Jumper-2.

Press button: Turn on the relay, terminal OUT outputs DC power, turn on led lamp.

Press button again: Turn off the relay, terminal OUT no output, turn off led lamp.

Wireless Wall-Mounted Switch Remote Control Kit for AC Lamp

We made a remote control kit which consists of a wall-mounted switch and a remote receiver (S1X-AC220&HR-1).

wall-mounted switch and receiver

When we use ordinary switch to switch home appliances off and on, we should do some wiring for home appliances, some time it is very complicated and time- consuming. Our RF wireless wall mounted switch looks like universal switch from appearance, but it is wireless and operate by RF signal that can pass through walls, floors and doors. It is can be simply affix to any place you want by double faced adhesive tape.

wall-mounted switch

Through RF signal, you don’t have to wire between switch and appliances. Wall-mounted switch works with remote receiver to remote control ac lamp.

Here is the wiring diagram.

wiring diagram

Wire ac lamp to OUTPUT of receiver. And add power supply to receiver. This kind of receiver is designed for AC output terminals so that lamp can get power from output terminals of receiver directly.

Setting different control modes (We usually set toggle for lamp controlling.)

Setting control mode Toggle: Only connect Jumper-2.

Press button: Turn on the relay, terminal OUT outputs AC power, turn on lamp.

Press button again: Turn off the relay, terminal OUT no output, turn off lamp.

One Transmitter Remote Control 4 Devices Actutated by 24 V and 240V Version

Question from customer:

Whether we can get the receivers with different voltage versions? For example 2 piece of 24 volt and 2 piece of 240 volt.

Answer:

Yes, it is possible. We recommend those two kinds of receivers—for 24V version, it is 24V DC input receiver (S2UB-DC24). For 240V version, it is 100V~240V input receiver (S2U-AC220). Both of them have two relays on the PCB. So there are four channels totally for your devices. They can pair up with long range transmitter (CB-4).

remote-controller

It can control lights, motors, fans, electrically operated doors/locks/windows/blinds/cars or other appliances with voltage AC 110~240V or DC 0~28V. Owing to normally open& closed contact, you should add additional power supply to your devices besides your receivers. But you can do as following wiring method to save power supply adaptors. Wire devices (lamps) to B terminals of each relay, using wires to connect devices to output terminals of each receiver. For dc input receiver, we supply dc 24v power; for ac input receiver, we supply ac 240v power.

circuit

There are toggle, momentary, latched and momentary+toggle modes. You want to remote control 4 devices, so you’d better choose toggle or momentary mode or toggle+momentary mode.

Setting control mode Toggle: Only connect Jumper-2.

Control mode Toggle: Press -> On; Press again -> Off.

Press button A: Turn on relay 1 of Receiver 1 (connect B and C, disconnect A and B)

Press button A again: Turn off relay 1 of Receiver 1 (disconnect B and C, connect A and B)

Press button D: Turn on relay 2 of Receiver 2 (connect B and C, disconnect A and B)

Press button D again: Turn off relay 2 of Receiver 2 (disconnect B and C, connect A and B)

Setting control mode Momentary: Only connect Jumper-1.

Control mode Momentary: Press and hold -> On; Release -> Off.

Press and hold button A: Turn on relay 1 of Receiver 1 (connect B and C, disconnect A and B)

Release button A: Turn off relay 1 of Receiver 1 (disconnect B and C, connect A and B)

Press and hold button D: Turn on relay 2 of Receiver 2 (connect B and C, disconnect A and B)

Release button D: Turn off relay 2 of Receiver 2 (disconnect B and C, connect A and B)

Setting control mode Momentary + Toggle: Connect Jumper-1 and Jumper-2.

Control mode Momentary (Channel 1 of Receiver 1, 2): Press and hold -> On; Release -> Off.

Press and hold button A: Turn on relay 1 of Receiver 1 (connect B and C, disconnect A and B)

Release button A: Turn off relay 1 of Receiver 1 (disconnect B and C, connect A and B)

Press and hold button B: Turn on relay 1 of Receiver 2 (connect B and C, disconnect A and B)

Release button B: Turn off relay1 of Receiver 2 (disconnect B and C, connect A and B)

Control mode Toggle (Channel 2 of Receiver 1, 2): Press -> On; Press again -> Off.

Press button C: Turn on relay 2 of Receiver 1 (connect B and C, disconnect A and B)

Press button C again: Turn off relay 2 of Receiver 1 (disconnect B and C, connect A and B)

Press button D: Turn on relay 2 of Receiver 2 (connect B and C, disconnect A and B)

Press button D again: Turn off relay 2 of Receiver 2 (disconnect B and C, connect A and B)