High amp Load Receiver and Wall-mounted Rocker Switch for Pump

Overview:

I want to remote control my submersible pump which draws water every day. It is 30amps and runs 220V power supply. Can you get the single channel remote control kit 30a ac 110V/220v with a wall mount remote control switch?

Solution:

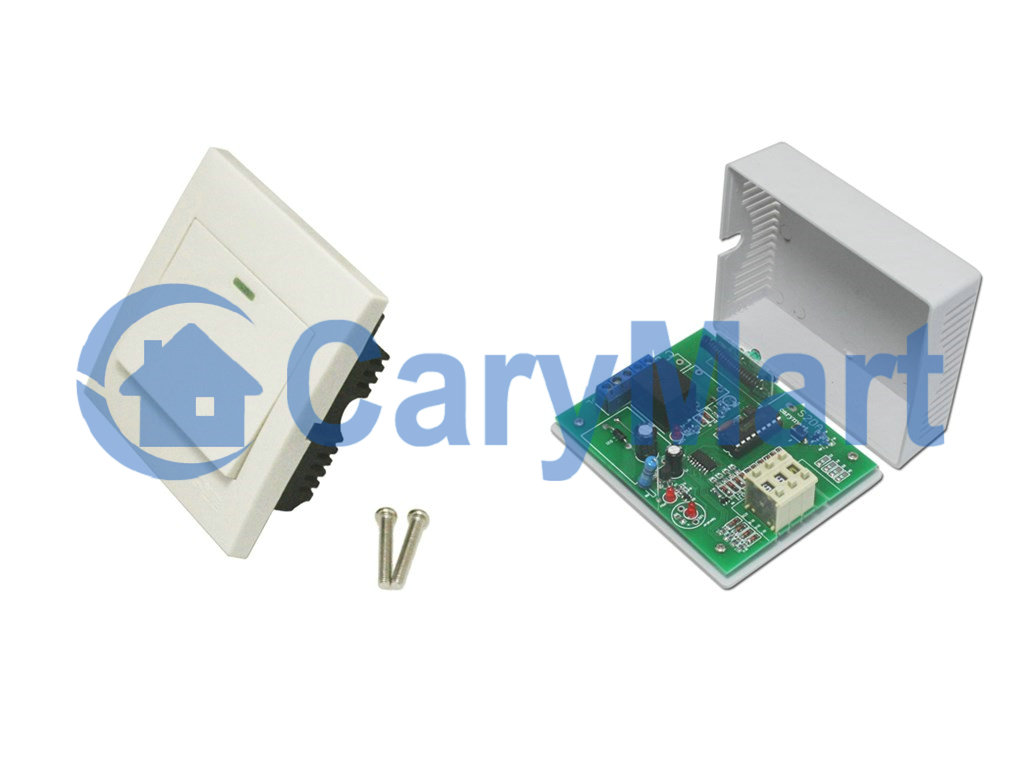
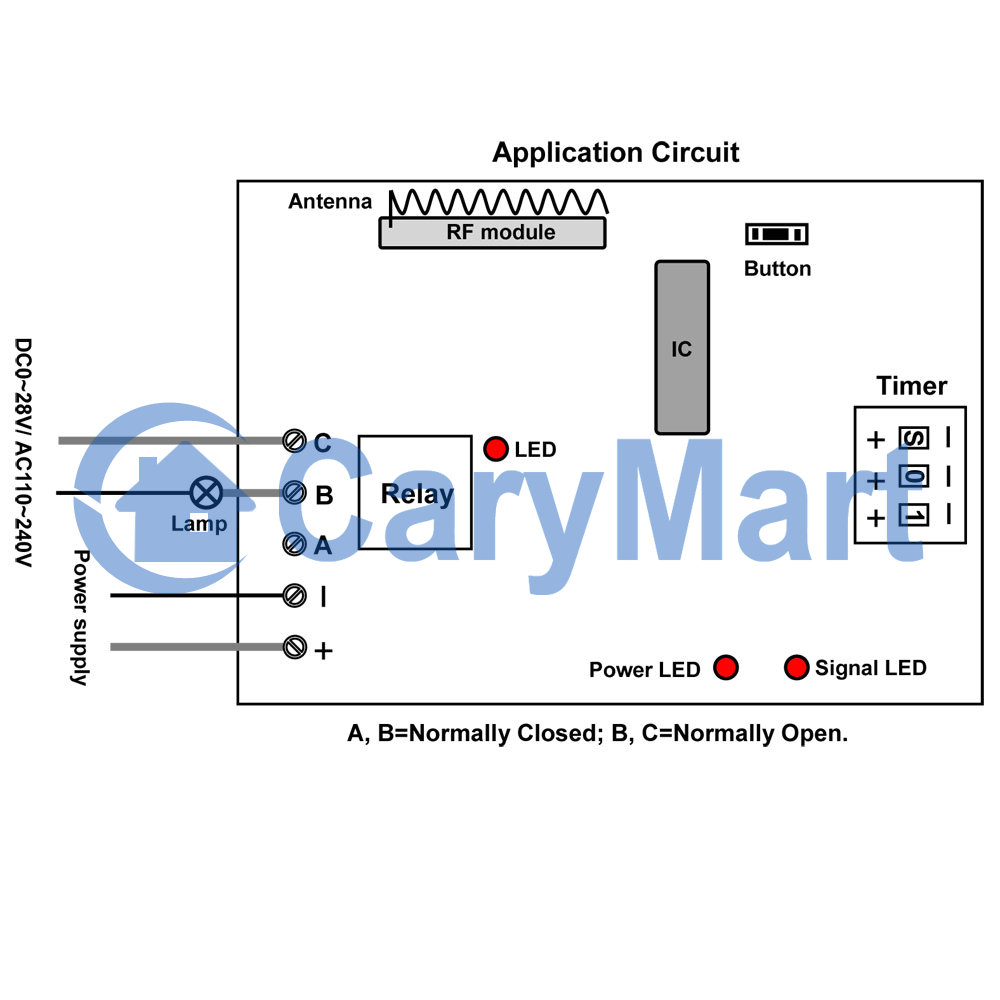
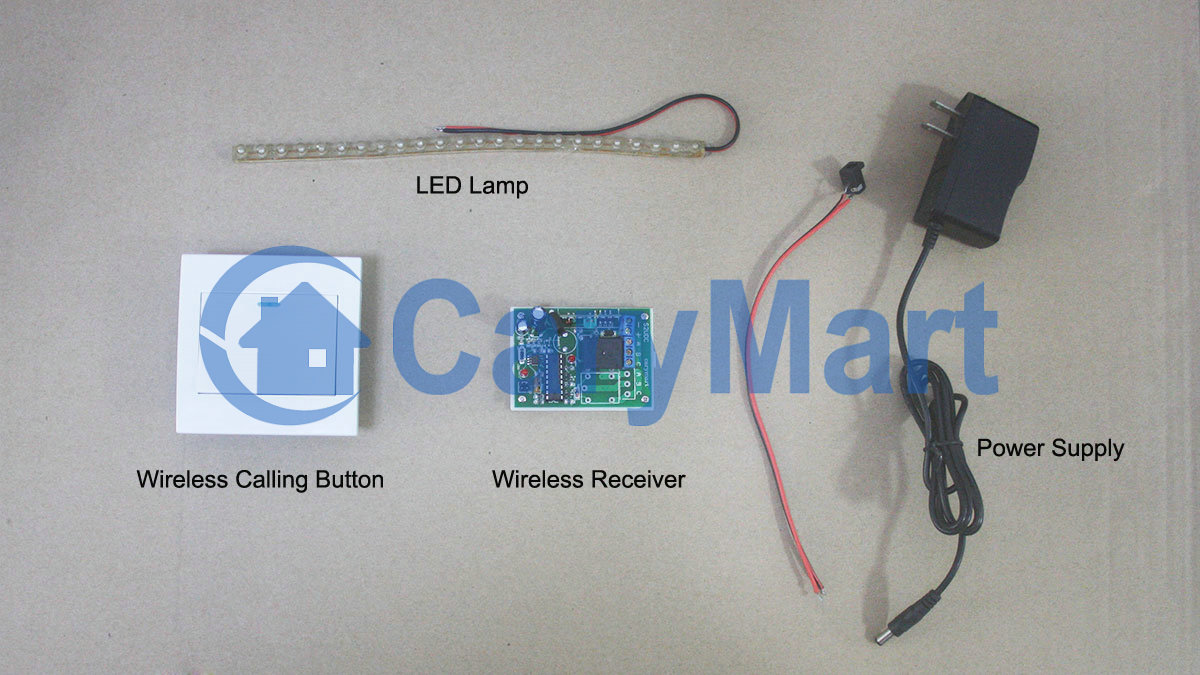
We suggest that you can use 110V/220V power output high amp load receiver (S1PX-AC220) & wall mounted rocker switch. The receiver circuit is designed for high capacity device (30amps). It is 110V/220V power output, you don’t have to add additional power supply for your submersible pump which is to be controlled. You can only wire submersible pump to receiver “OUTPUT” terminals. When power for receiver is on, submersible pump will work. And when high amp load receiver works the wall mounted rocker switch, their working distance can reach 500m (theoretical data in the open field). You can use screws to install rocker switch to the wall.

remote-control-kit

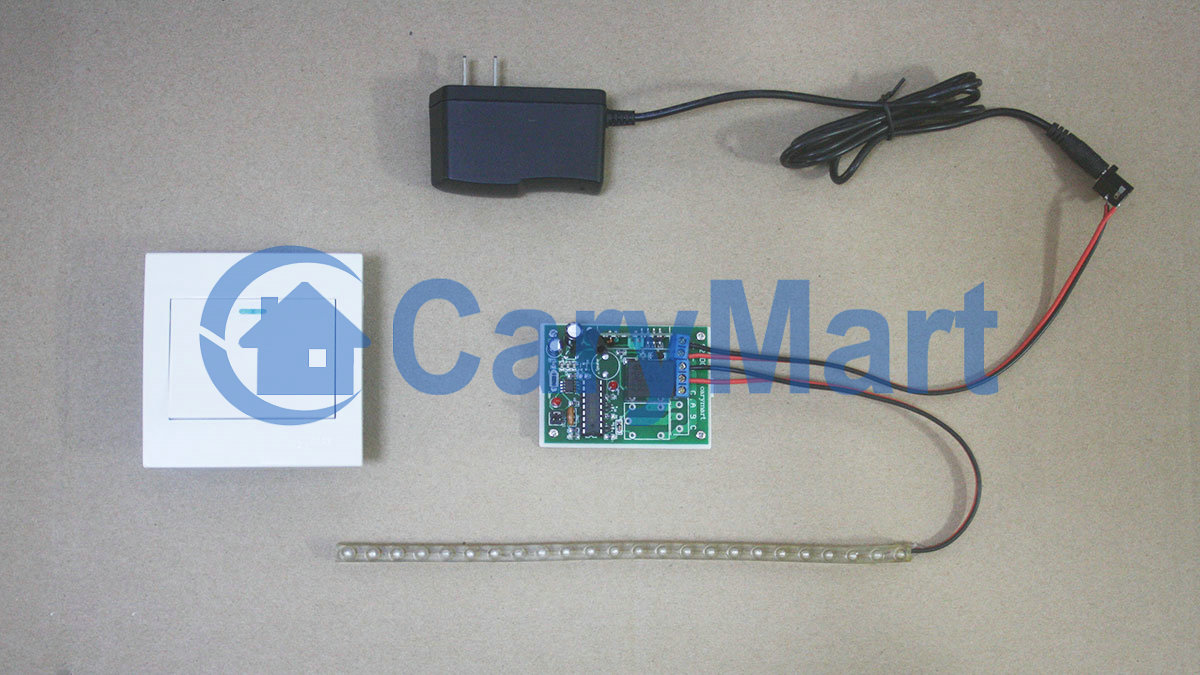
Wire submersible pump to the L&N contact terminal of receiver, and power receiver on. Install rocker switch on the wall.

motor-wiring-diagramt

Press the rocker switch, submersible pump start to draw water.

Press the rocker switch again, submersible pump stop drawing water.

Wireless Switch and Adjustable Time Delay Receiver for DC Light

We can use wall mounted wireless rocker switch and time delay adjustable receiver to control DC lamp.

The wireless rocker switch belongs to remote control calling system, which is the hi-tech electronic product which is integrated wireless communication and computer technology. It is widely applied to restaurants, coffee shops, karaoke rooms, discos, sauna rooms, beer houses, pubs, night clubs, bowling alleys, golf courses, video halls, hotels, hospitals, schools, chain stores ,shops… Time delay adjustable receiver has the range of time adjusting 0 second~99 hours. With normally open& closed terminal contact, we can wire DC or AC device to it. We are going to let them work together to build a new remote control system.

rocker switch& receiver

At first, we should pair up wireless rocker switch and adjustable time delay receiver. Then, we install the rocker switch to wall with screw. Next, we wire DC lamp to receiver. Initial state: A, B= Normally Closed; B, C =Normally open. So DC lamp should be wired to B, C terminals. Supply power to DC lamp and receiver respectively.

1_09

Press buttons of “+” and “-” on the timer, adjust delay time from 0 second to 99 hours. “H” is Hour, “M” is Minute, and “S” is Second.

For example, supposed we set “M 0 1”, it means the delay time is 1 minute.

Press button on the rocker switch, turn on the lamp. After delay time, lamp will turn off by itself. If we want to turn off lamp immediately, press button on the rocker switch again, lamp turns off, no need to wait for delay time.

Wall Mounting 1 Button Wireless Calling Button / Transmitter Remote Controls LED Lamp

Question from customer:

I live on a boat and have terrible access to my wiring. I really want to replace my lights and have their three switches centralized in a new location. So I have the 12v power supply to each light. I’m wondering if I can have a wireless receiver behind each light that are switched independently from three separate switches mounted on a wall. I’d like to use standard light switch fixtures as well if possible.

Can you recommend me anything that solves this situation?

Answer:

We recommend this wall mounting 1 button wireless calling button (433MHz)and 1 channel 12VDC wireless receiver (S1X-DC12). One calling button and a receiver can be paired to be a remote control kit.

calling-button&receiver

Wireless calling button is the hi-tech electronic product which is integrated wireless communication and computer technology. When there is a calling from a calling button, its paired receiver will be activated to control device which is wired to receiver.

It is widely applied to restaurants, coffee shops, karaoke rooms, discos, sauna rooms, beer houses, pubs, night clubs, bowling alleys, golf courses, video halls, hotels, hospitals, schools, chain stores ,shops…

Wireless calling button simply install to wall by screws. There is no need wiring from switch to lamp. Your light can be wired to the receiver and do not need supply additional power to light because it can get power from receiver. And you have three lights so you need three calling buttons and receivers.

We will show you the instruction.

We have wireless calling button, wireless receiver, LED lamp and power adaptor.

material

The wiring is very simple.

wiring

After switching on power, press calling button to turn on LED lamp.

lamp on

Press calling button again to turn off LED lamp.

lamp off

Video: