Question from customer:
I am looking for a Wireless transmitter Receiver system
Features:
– Receiver Power 12 v
– 6-channel Transmitter
– Output dry contact on / off
– The scope is very important we are on a boat
Answer:
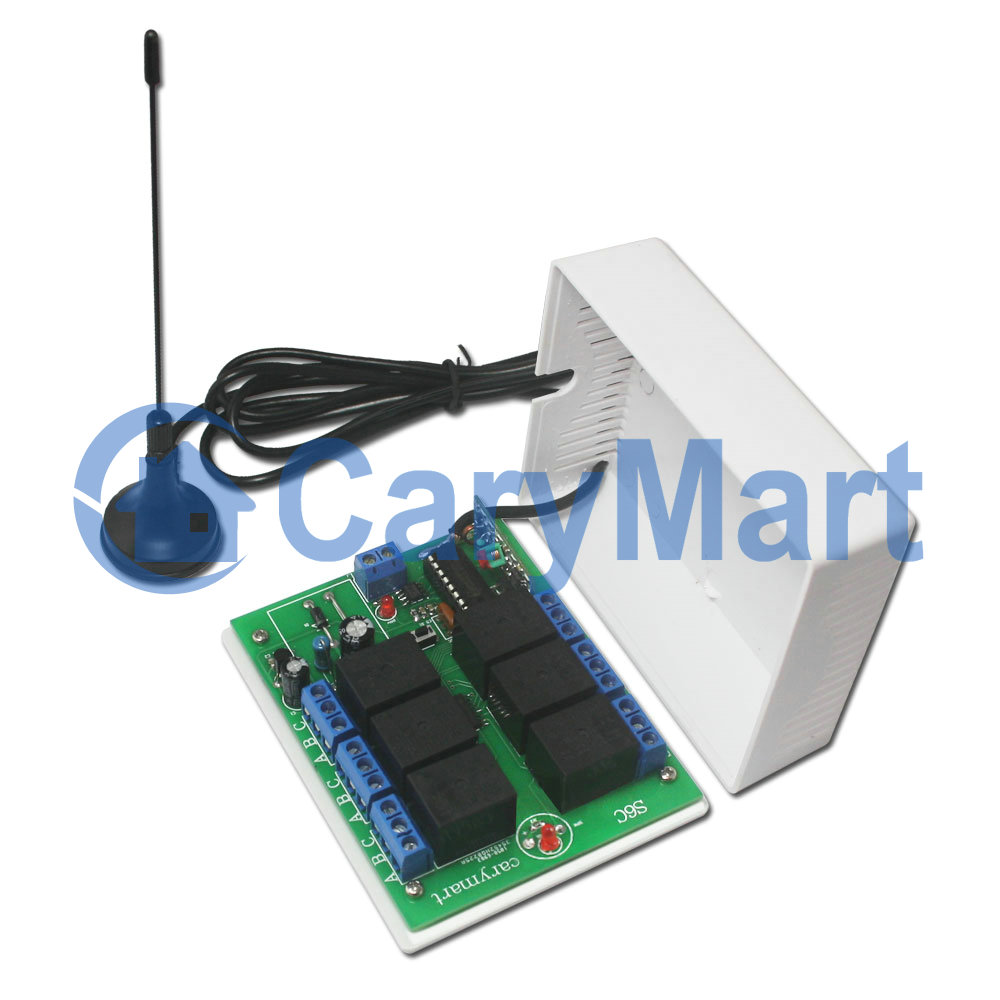
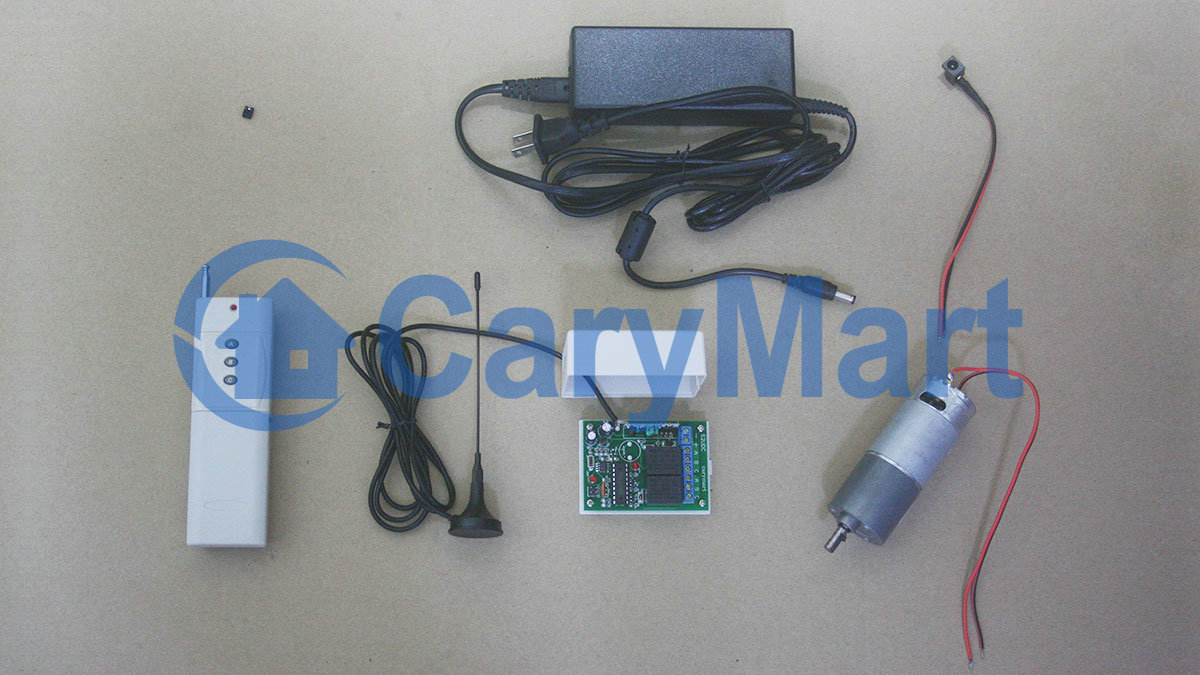
We think the model: S6C-DC12-ANT2 & 1CB-6 is more suitable for you according to your requirement. This is a wireless transmitter & receiver system. The receiver (S6C-DC12-ANT2) power is 12Vand the transmitter (1CB-6) has 6 channels. The transmitter can wireless remote control the relay (dry contact) on/off in the receiver.
When you press the button of transmitter, it will launch wireless RF signal and can be received by the receiver. Then the relay (dry contact) can on/off by wireless remote control.
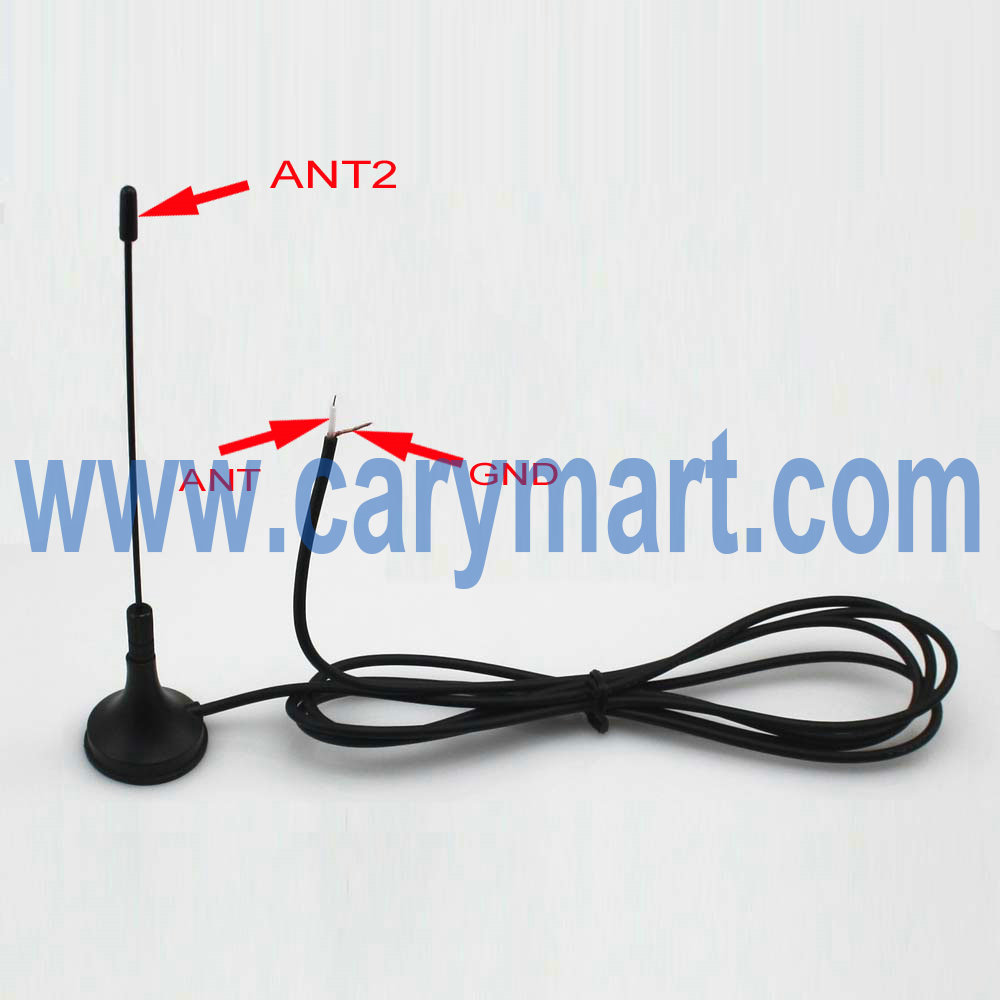
Besides you can turn on/off the relay (dry contact) in the receiver with transmitter (wireless remote control) within a long range (2000m/6000ft theoretically) because of the receiver with external extend antenna ( ANT2). So if you are on a boat and far away from the shore, you can mount the receiver in the appliance on the shore and use the transmitter to turn on/off the appliance by wireless remote control on the boat. The wireless transmitter & receiver system is more suitable for long range wireless remote control.
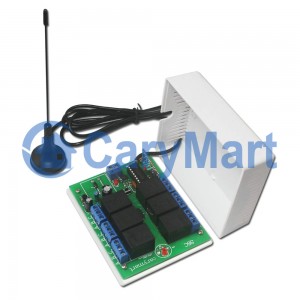
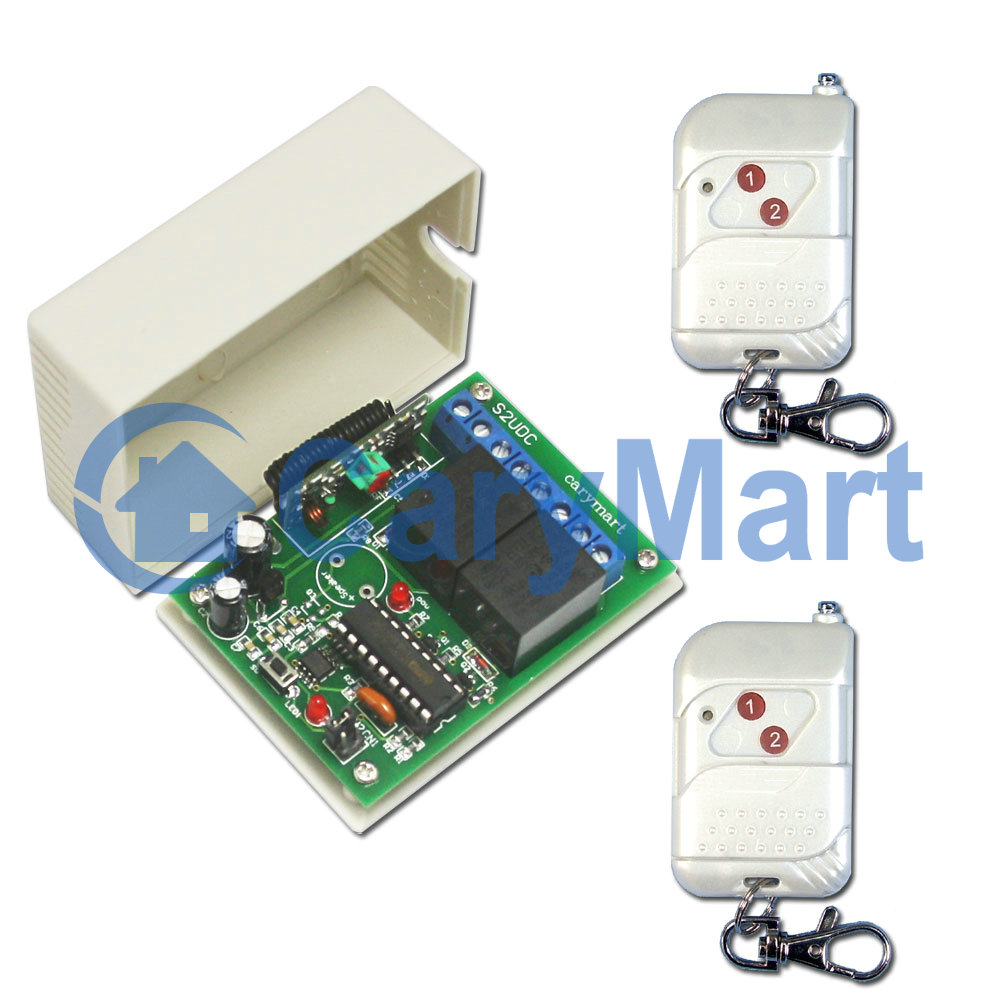
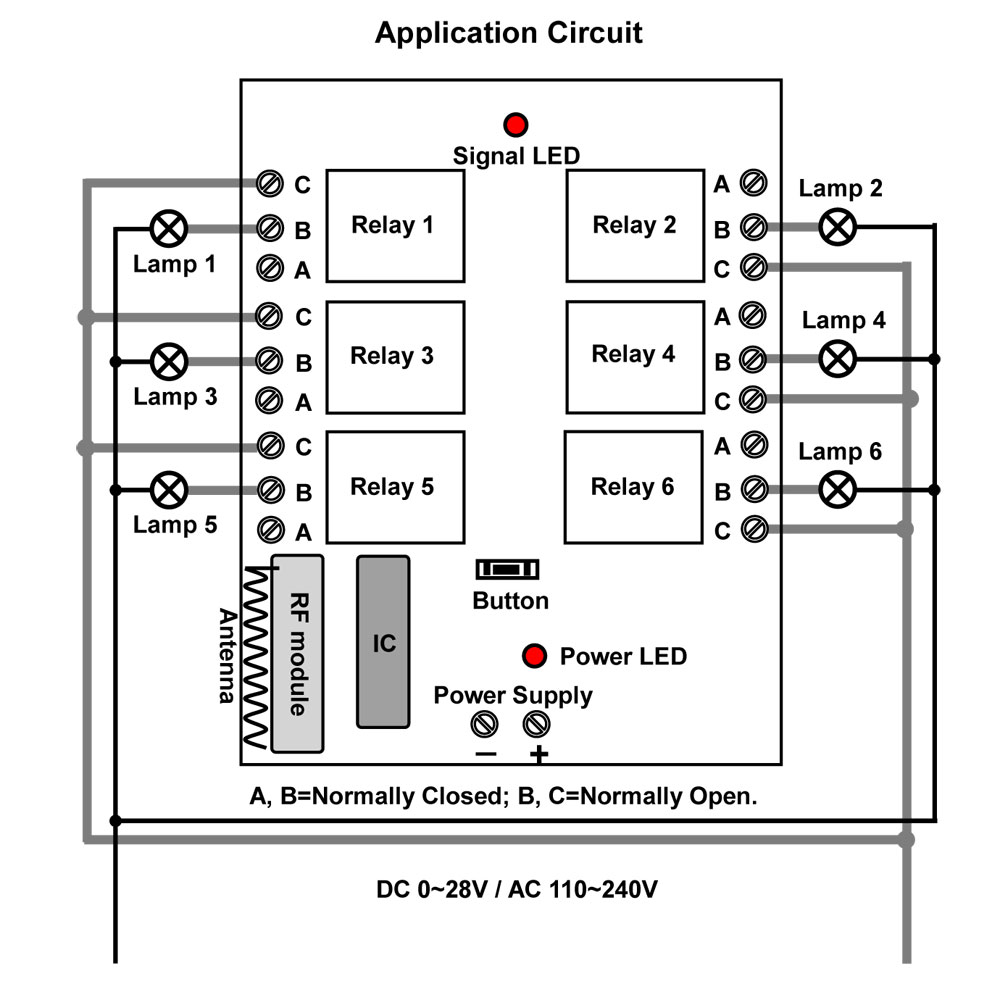
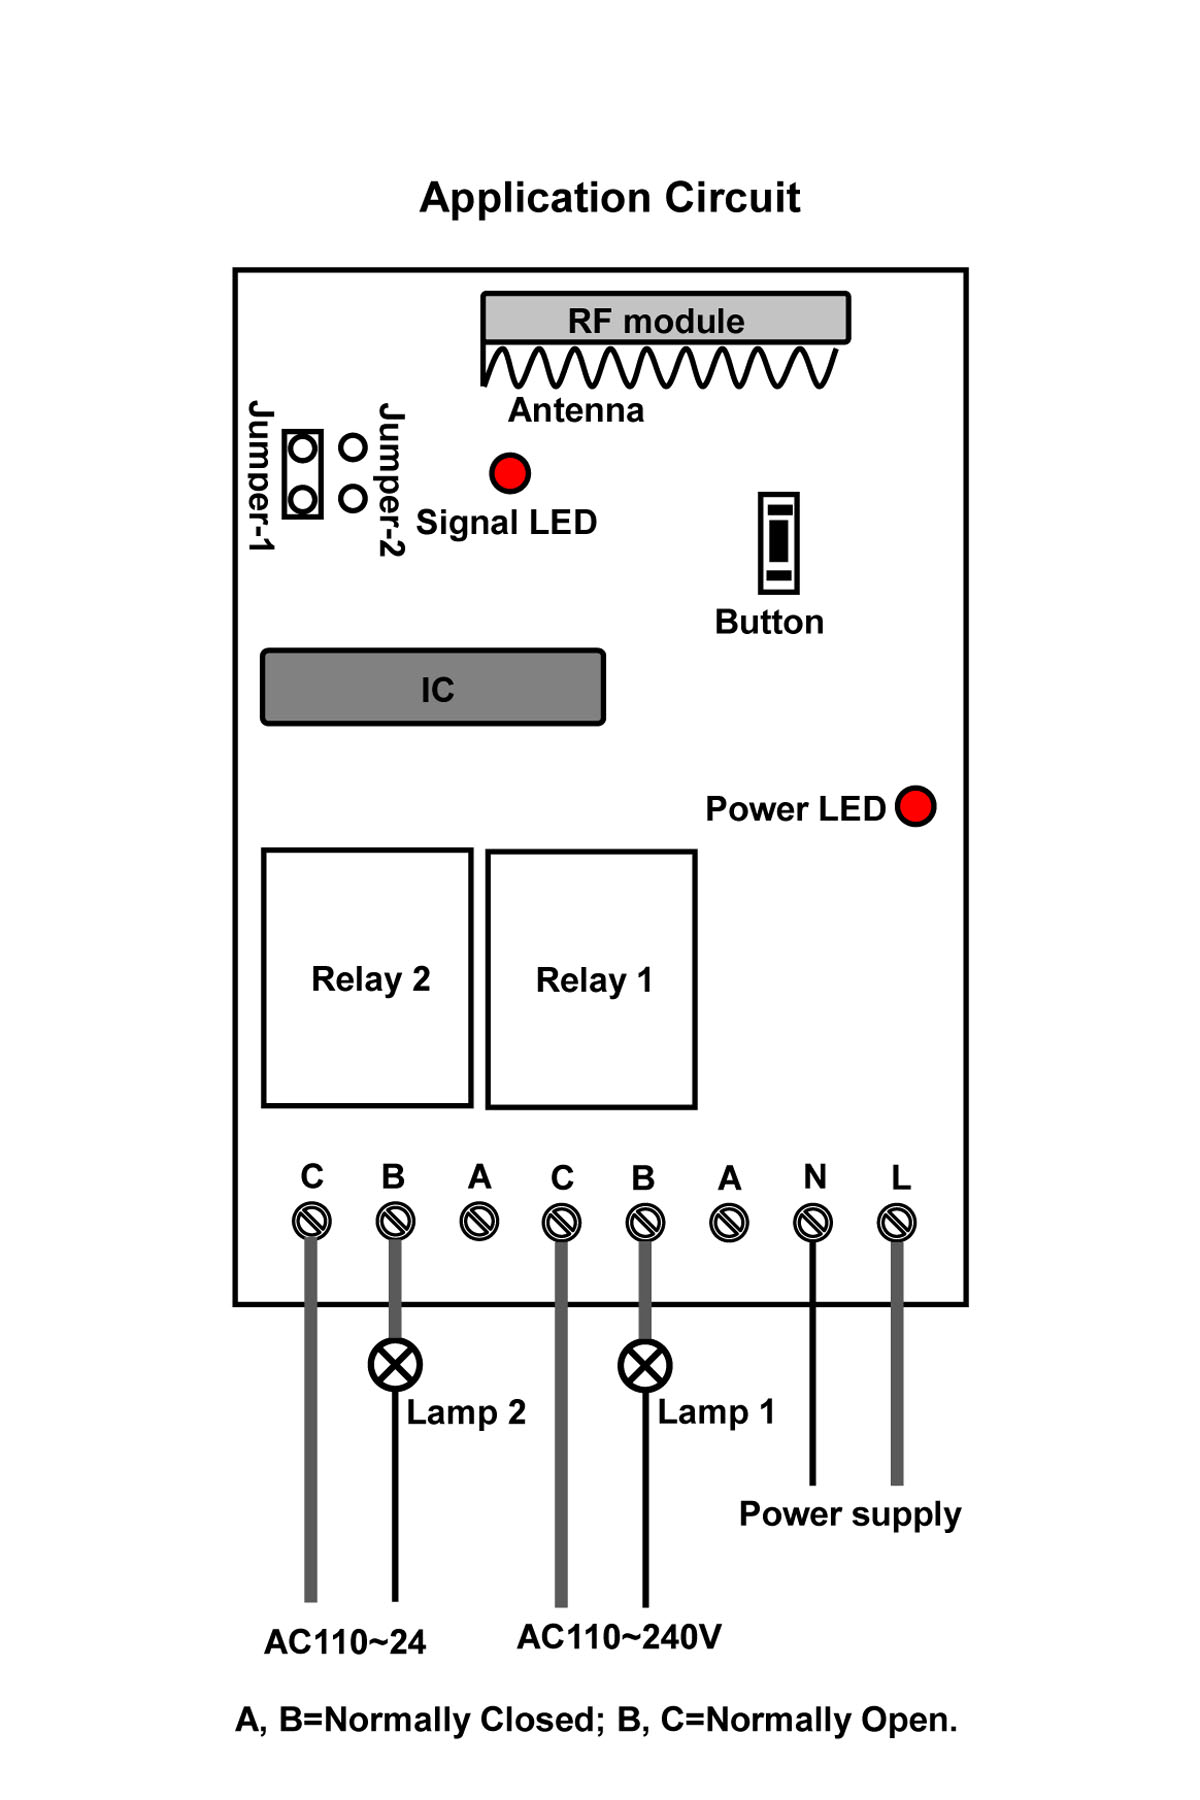
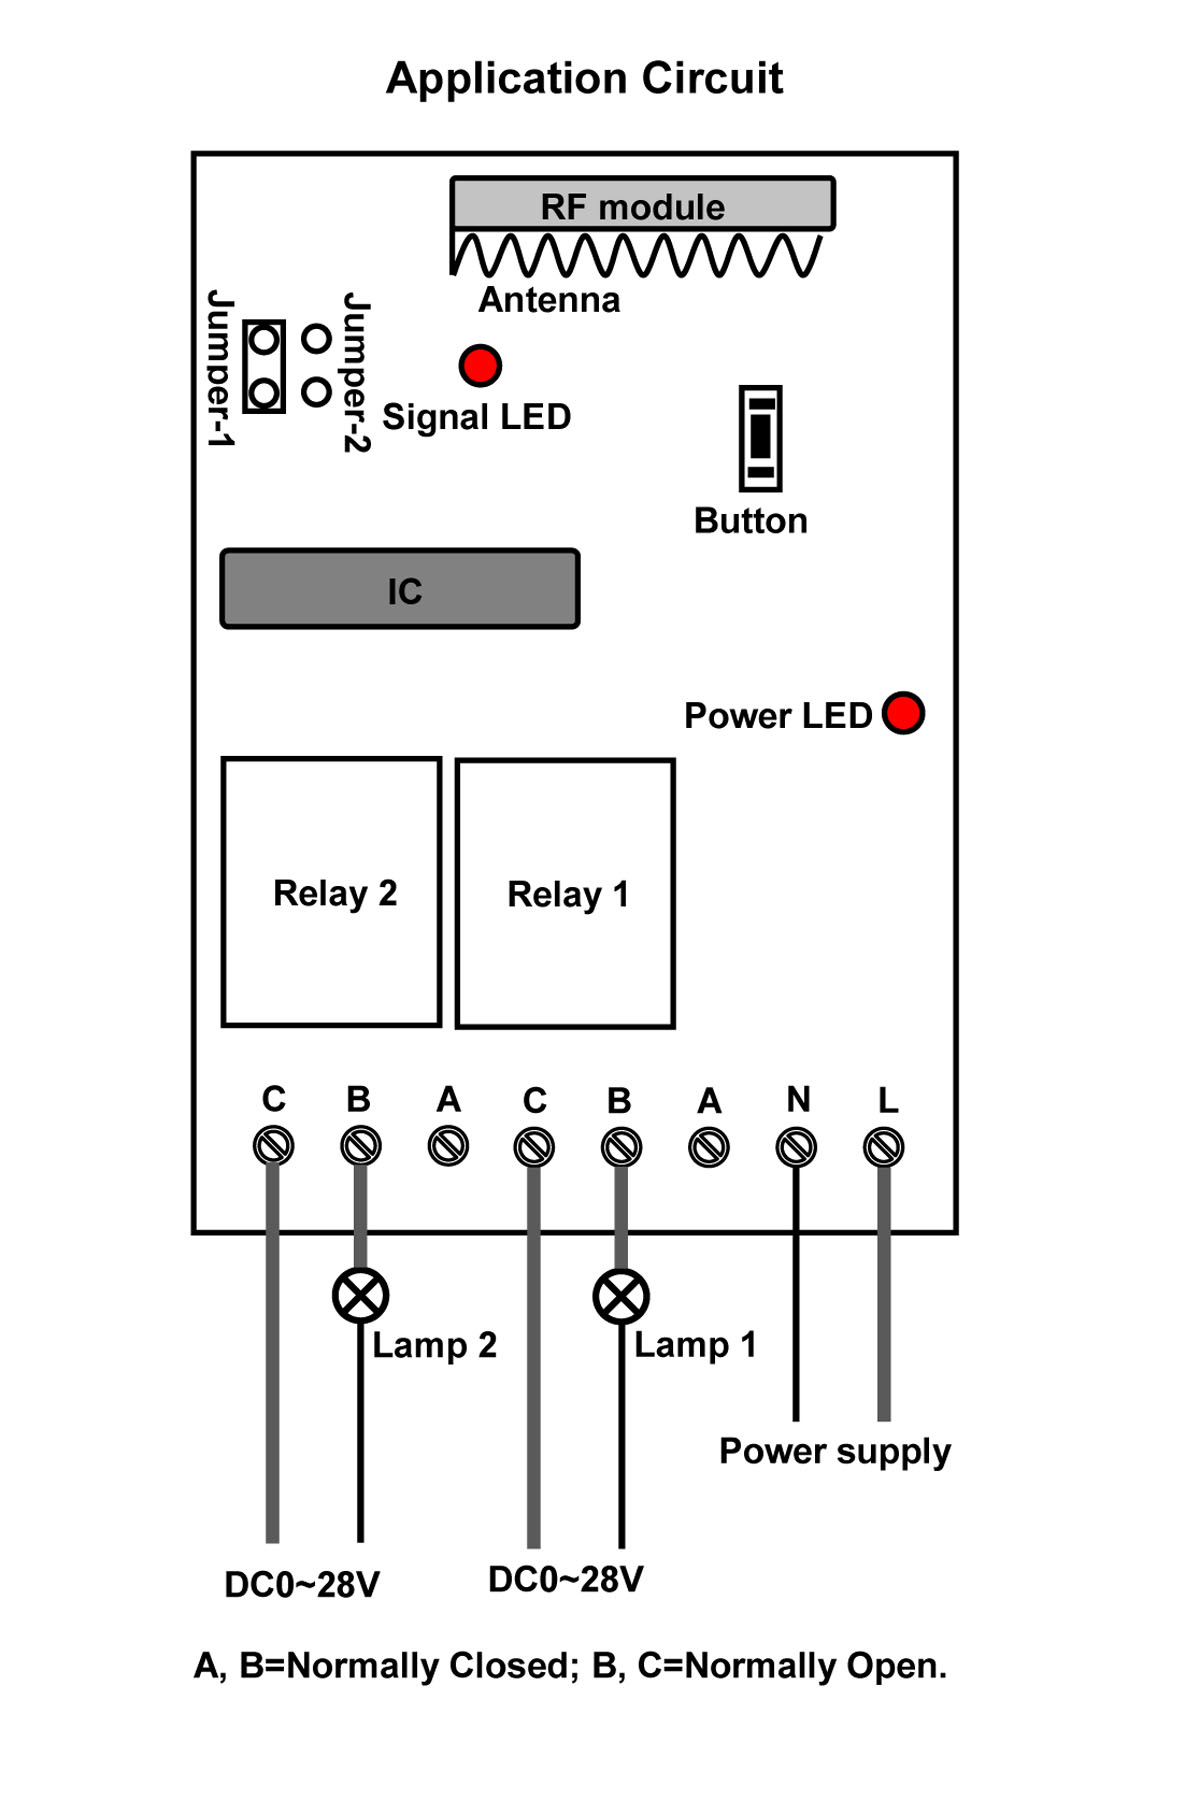
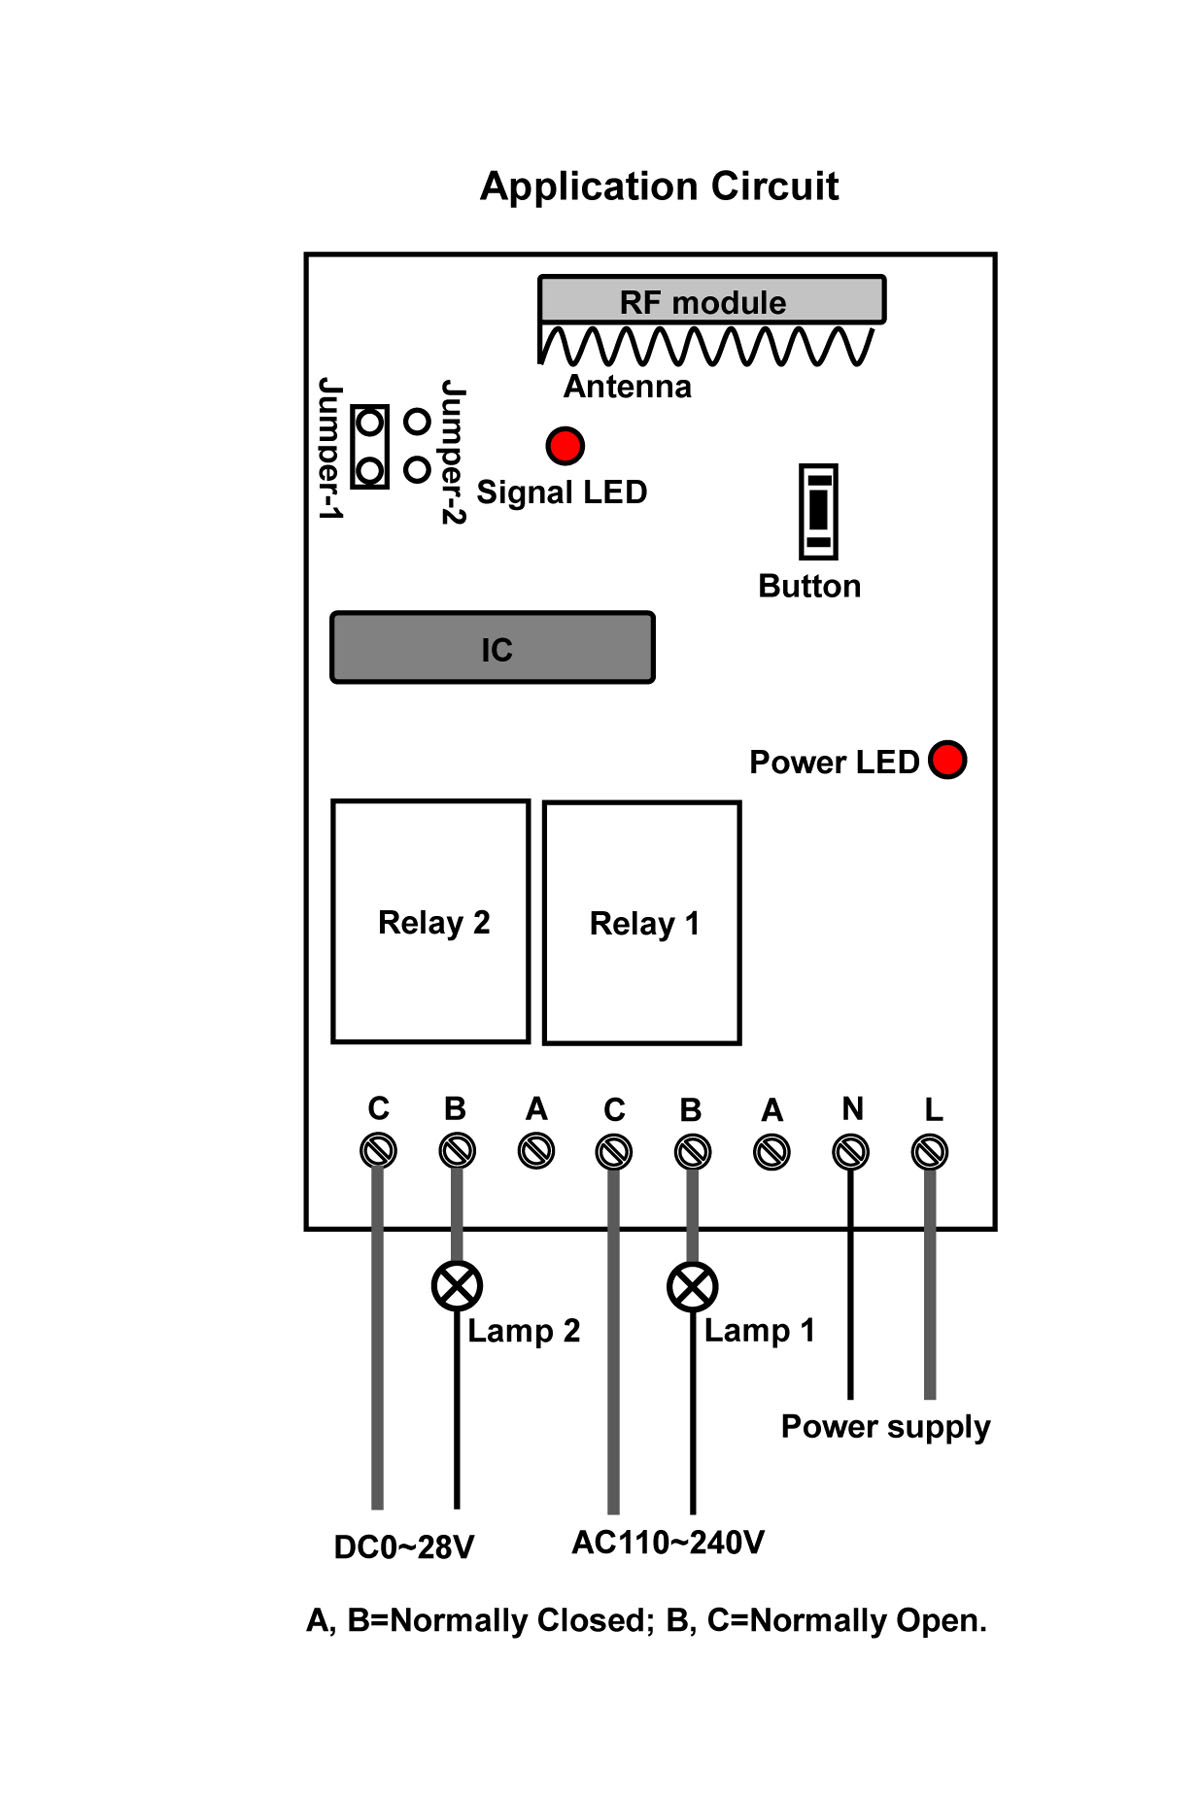
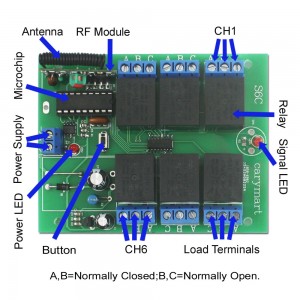
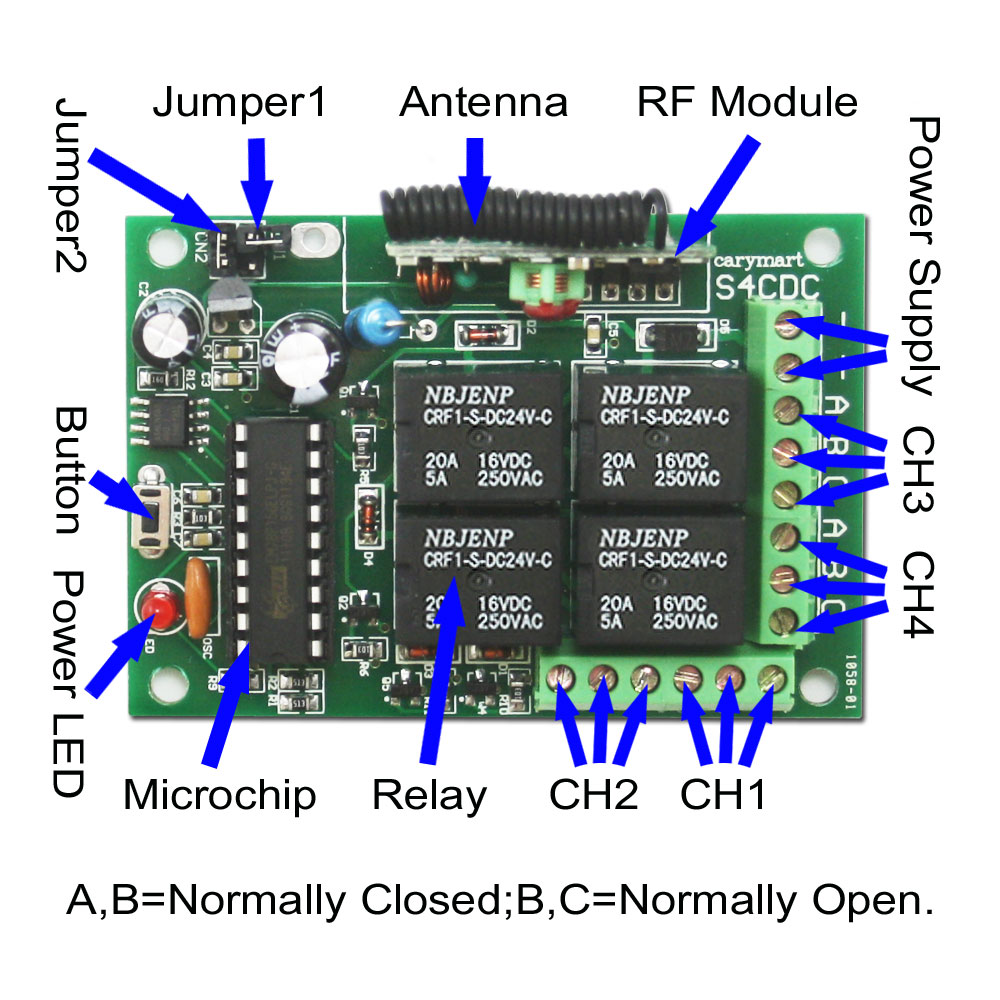
Receiver
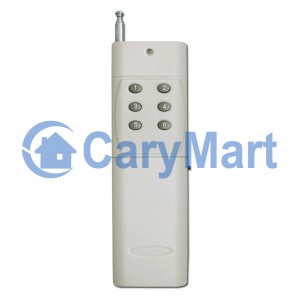
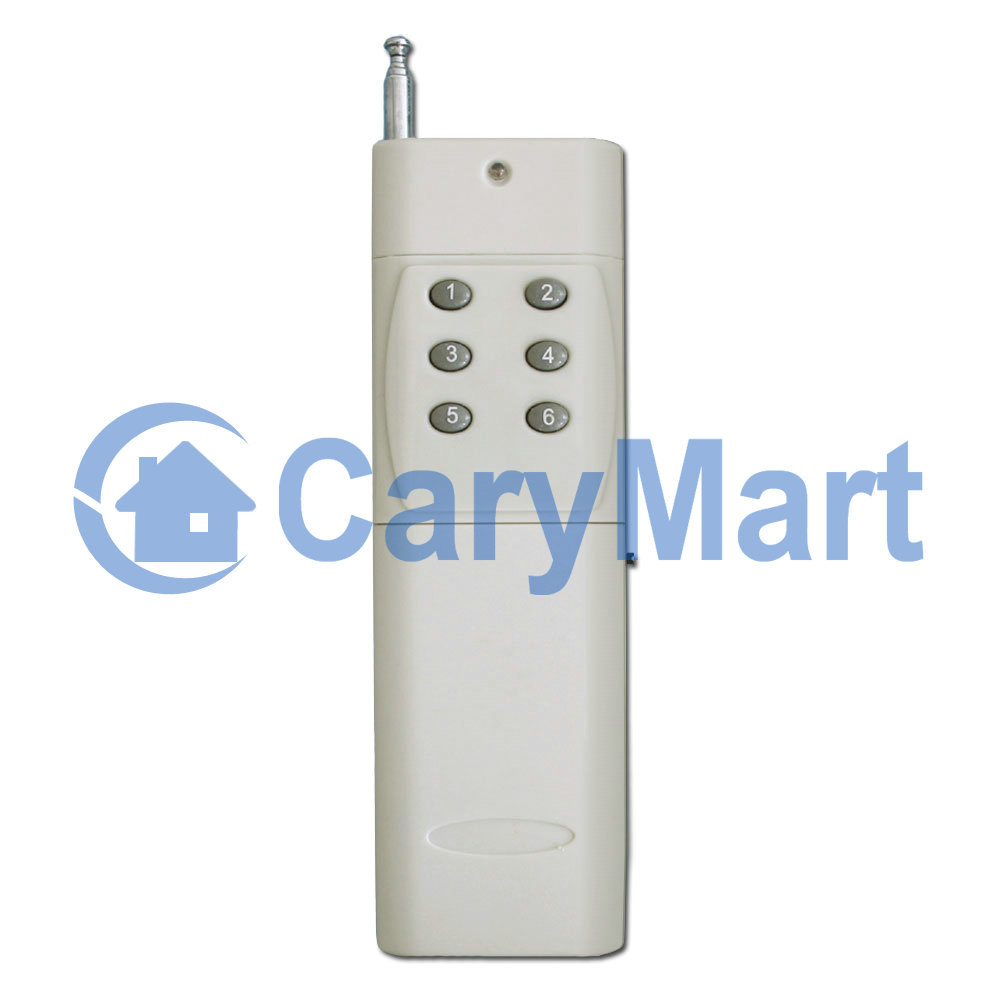
Transmitter
The transmitter has 6 buttons, so it has six control modes to wireless remote control the relay (dry contact) on/off. And you can set different modes as you freely like as following operation:
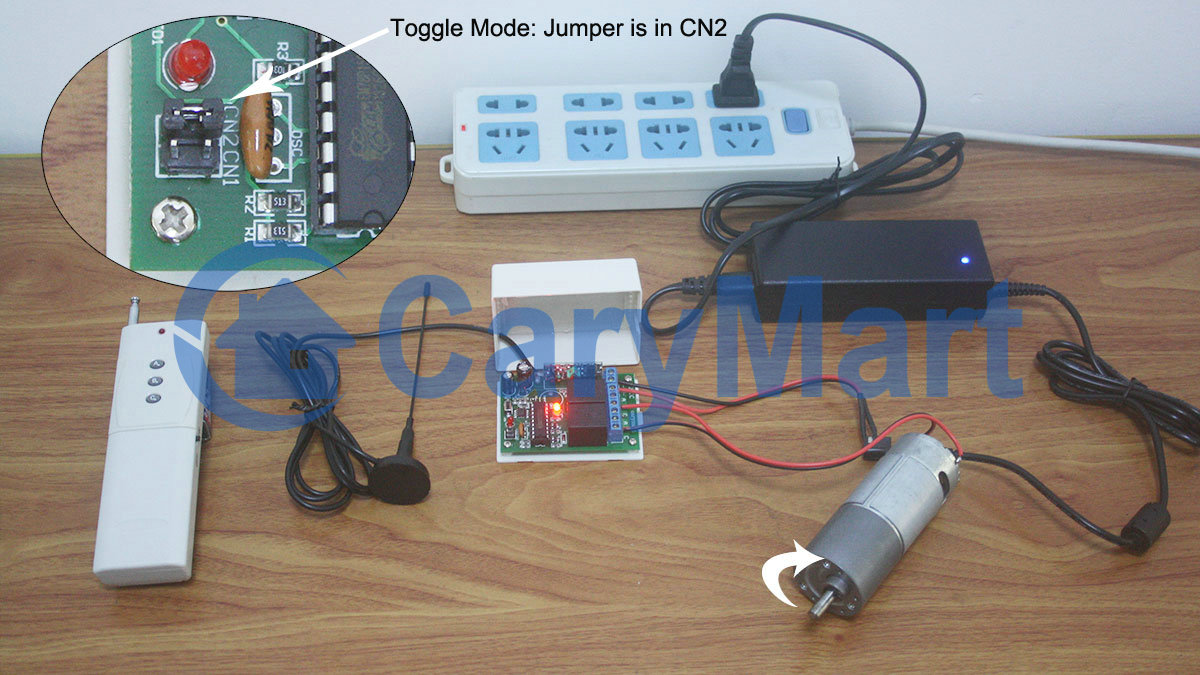
1) Learning Toggle control mode: When the receiver is in the status of LEARNING, press button 1 of the remote control.
Control mode Toggle (Channel 1~6): Press -> On; Press again -> Off.
Press button 1: Turn on relay 1 (connect B and C, disconnect A and B)
Press button 1 again: Turn off relay 1 (disconnect B and C, connect A and B)
…
Press button 6: Turn on relay 6 (connect B and C, disconnect A and B)
Press button 6 again: Turn off relay 6 (disconnect B and C, connect A and B)
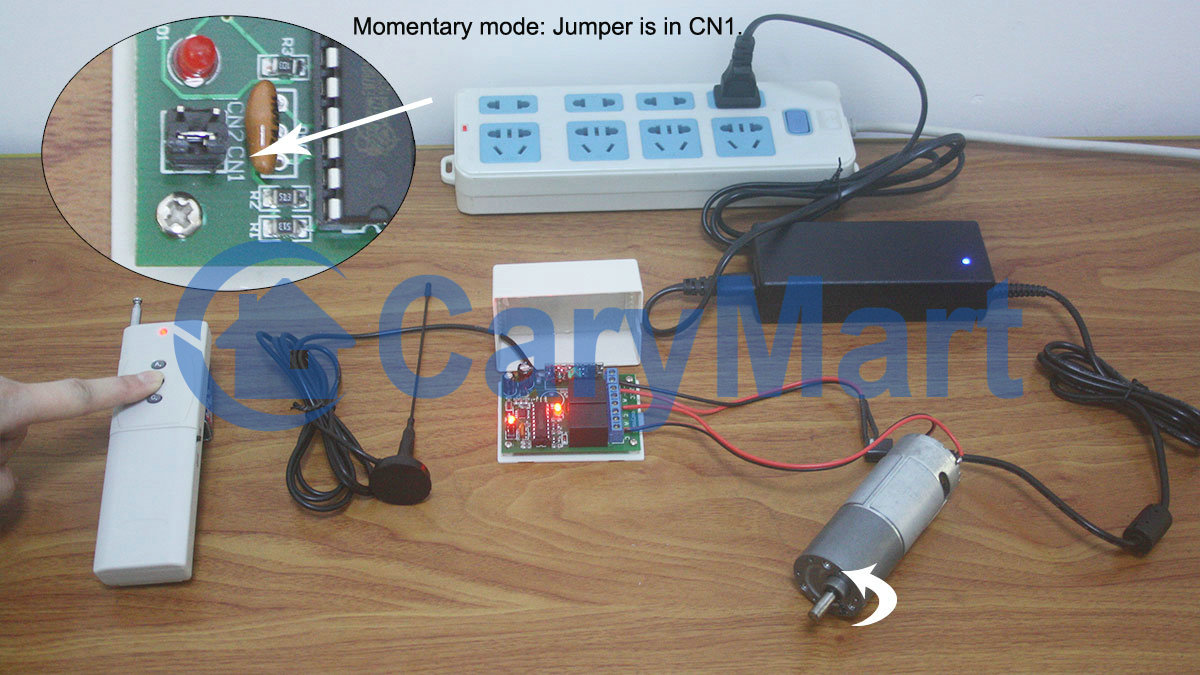
2) Learning Momentary control mode: When the receiver is in the status of LEARNING, press button 2 of the remote control.
Control mode Momentary (Channel 1~6): Press and hold -> On; Release -> Off.
Press and hold button 1: Turn on relay 1 (connect B and C, disconnect A and B)
Release button 1: Turn off relay 1 (disconnect B and C, connect A and B)
…
Press and hold button 6: Turn on relay 6 (connect B and C, disconnect A and B)
Release button 6: Turn off relay 6 (disconnect B and C, connect A and B)
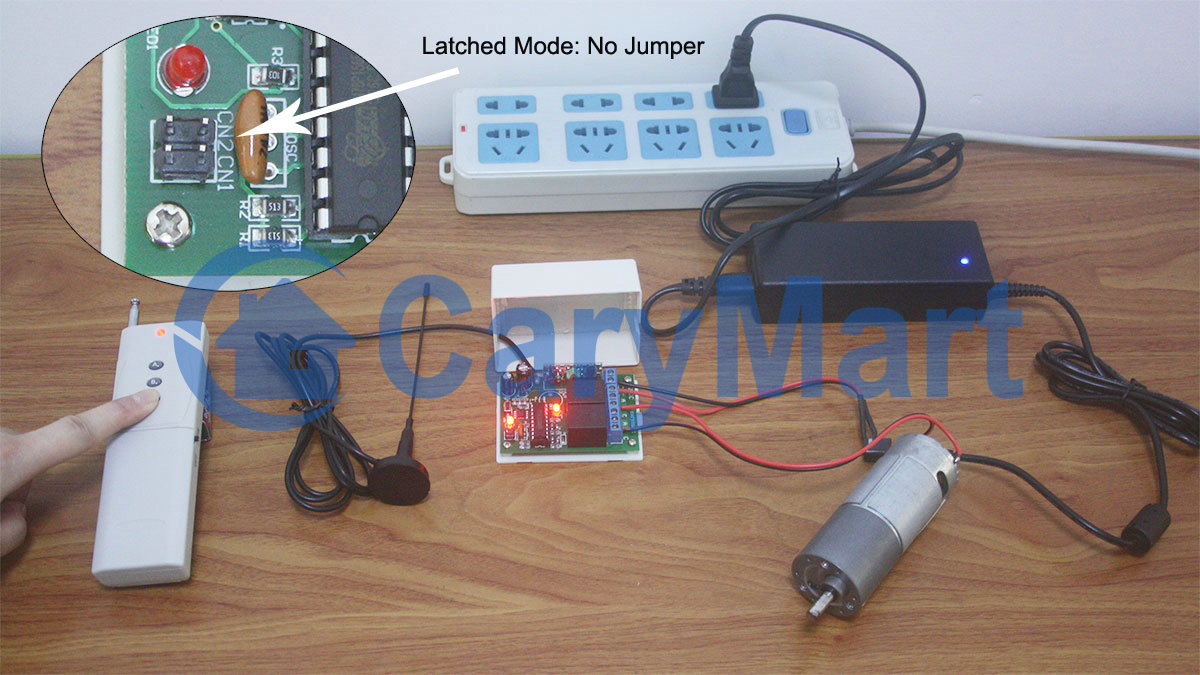
3) Learning Latched control mode: When the receiver is in the status of LEARNING, press button 3 of the remote control.
Control mode Latched (Channel 1~8): Press -> On, other relays Off; Press other button -> Off.
Press button 1: Turn on relay 1 (connect B and C, disconnect A and B)
Turn off other relay (disconnect B and C, connect A and B)
…
Press button 6: Turn on relay 6 (connect B and C, disconnect A and B)
Turn off other relay (disconnect B and C, connect A and B)
4) Learning Momentary (Channel 1~3) + Toggle (Channel 4~6) control mode: When the receiver is in the status of LEARNING, press button 4 of the remote control.
5) Learning Momentary (Channel 1~3) + Latched (Channel 4~6) control mode: When the receiver is in the status of LEARNING, press button 5 of the remote control.
6) Learning Toggle control mode (Channel 1~4) + All On / Off (Channel 5/6): When the receiver is in the status of LEARNING, press button 6 of the remote control.
Press button 5: Turn on all 6 relays
Press button 6: Turn off all 6 relays
By the way, the status of learning can be set by someone. When someone press the button of receiver, signal LED on the receiver keeps shining. The receiver enters into status of LEARNING; press any one button on remote control. If signal LED flashes quickly 15 times and turns off, it means learning is successful. When receiver is in the status of LEARNING, press again the button of receiver, signal LED turns off, learning process will be discontinued.The receiver can learn several remote controls with different codes.
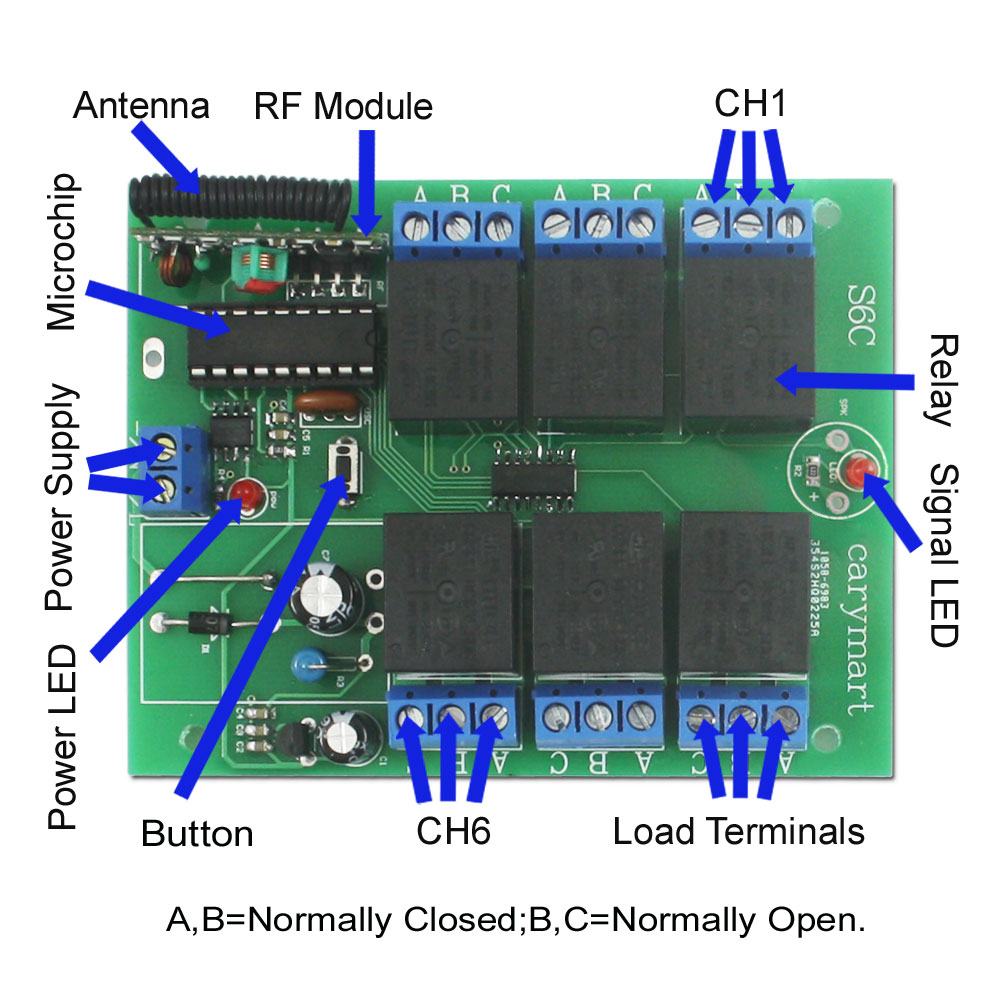
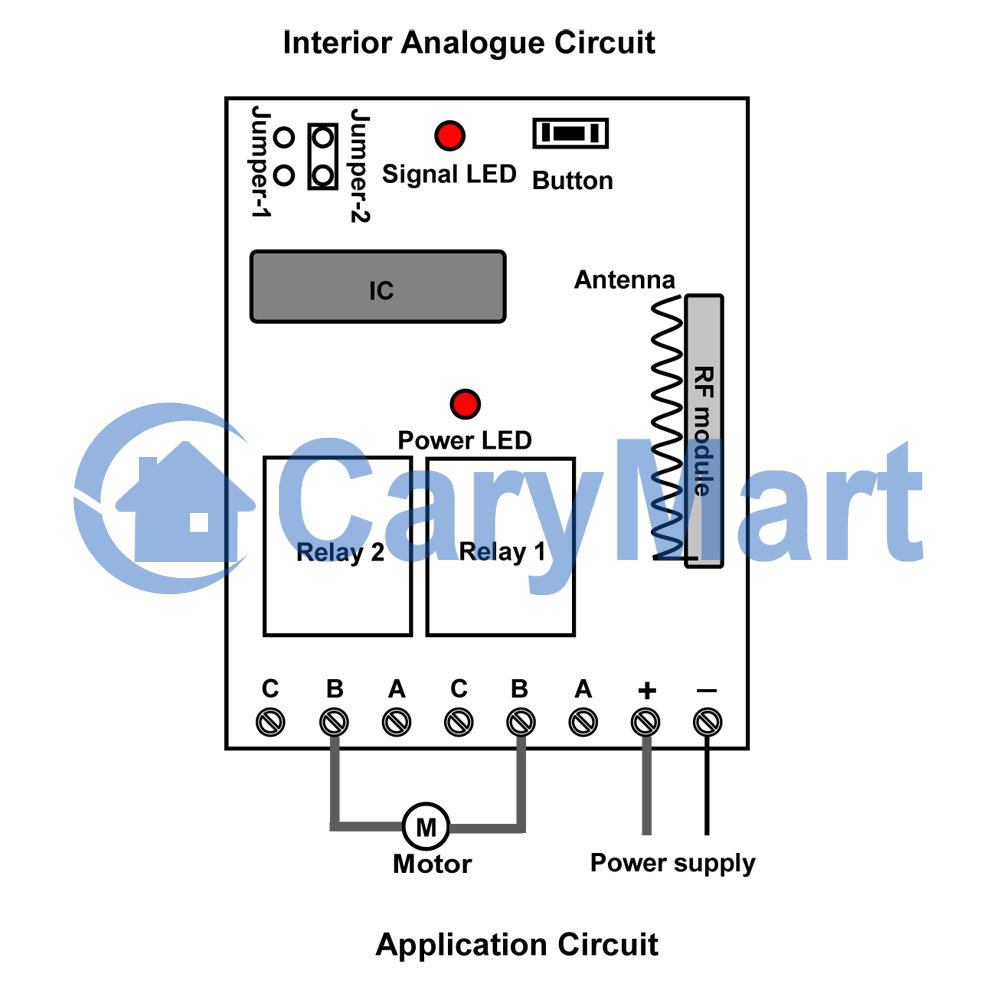
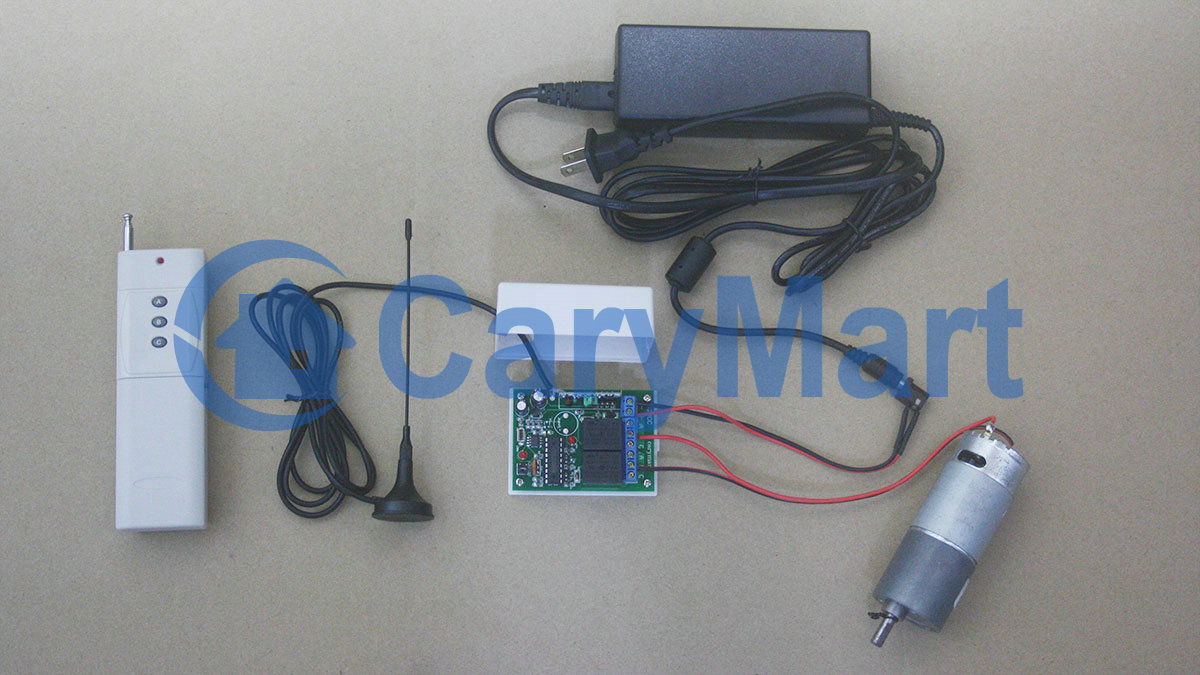
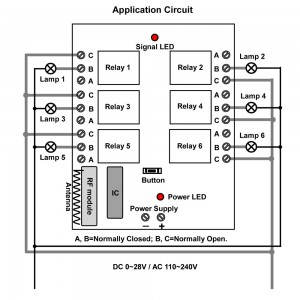
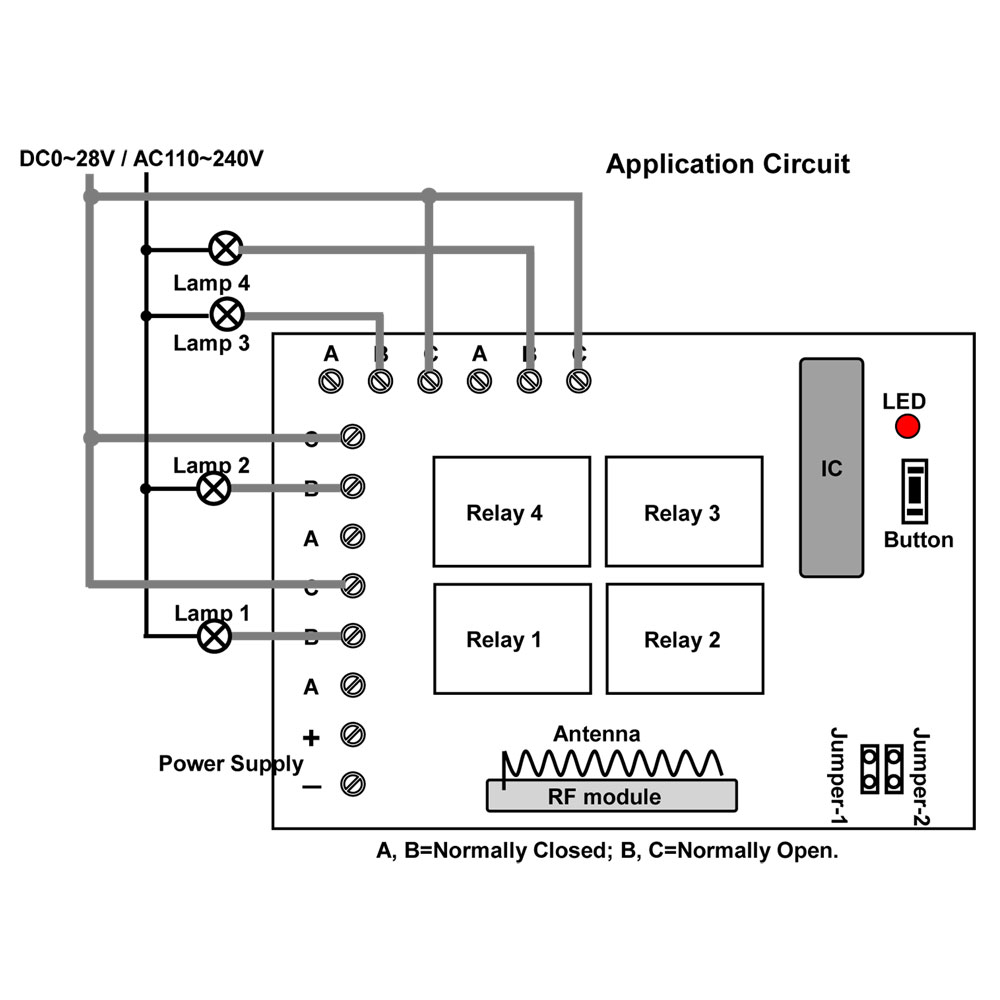
Here is the circuit diagram. You can connect one appliance to the terminal of receiver. Then supply power to the receiver. When you press the button of transmitter, you can turn on/off the appliance by wireless remote control the relay (dry contact) on/off.
If you would like to know more something about the system of wireless remote control the relay (dry contact) on/off, please you enter into our website and search the product as following:
Model: 0020456 (S6C-DC12-ANT2 & 1CB-6)
Website:
http://www.carymart.com/
http://www.carymart.com/index.php?main_page=advanced_search_result&search_in_description=1&categories_id=&keyword=S6C-DC12-ANT2


 Follow