BUMPER BOY was designed to provide a complete training system for dog trainers that have working retrievers, of any age.
One of our customers had a fake homemade bumper boy thing which he used for dog’s hunting drills. The bumper boy was manual operation. Recently, he brought our 2 channel dc 2000m remote control kit to do some retrofit for his dog training system because he wanted to remote control bumper boy. Definitely, it works. Let’s come to see how he retrofits the bumper boy system.
①Parts:
2 channel 12V long range remote control kit
12 volt camcorder battery that had on off switch and comes with charger
2 -1/4 inch stereo jacks (one for each servo)
1 – Sandwich box
②Procedure:
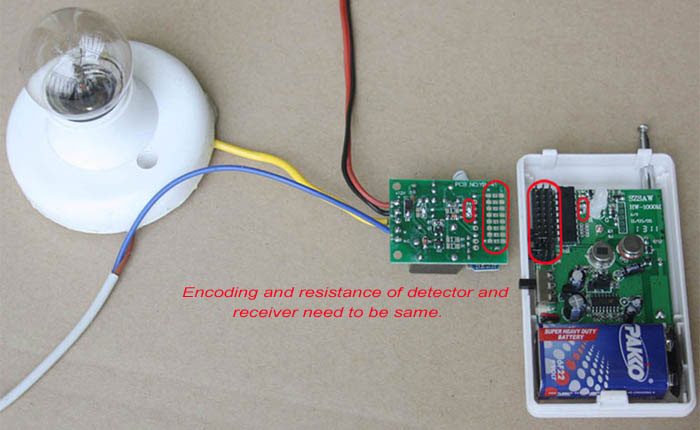
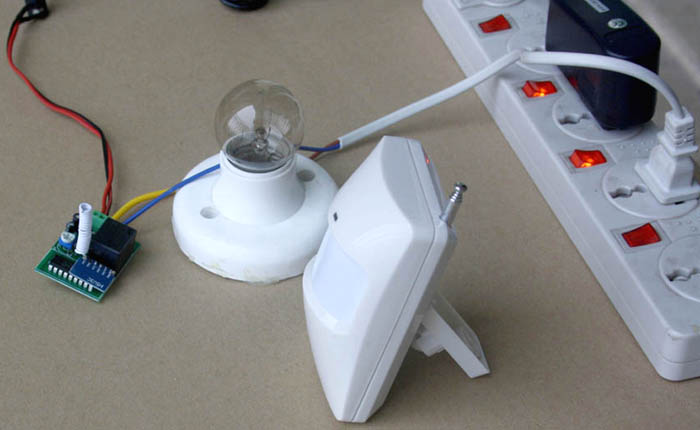
He just put an 8 relay RF receiver on his 8 shot bumper boy. At first, he put an 8 relay RF receiver and 12 volt battery in the box. Basically he needed a relay for every shot or function. This was a two relay unit for his two shot homemade bumper boy.
He did not put a sound board or buzzer on receiver due to he would never use it. He soldered all his connections together and put a wire nut on them which was just used to protect them.
He used speaker wire to tie everything together. He has used this unit out to 200 yards.
The whole thing was so easy to put together as it was fairly self explanatory.


 Follow


