We use a simple RF remote kit to design a DIY wireless remote control outlet, so that we can simply connect a variety of electrical appliances to this outlet, and use the remote control to wirelessly control electrical appliances. Such as control lights, fans, motors, heaters and other appliances.
Introduce the wireless remote outlet DIY process is as follows:
- The required components including: Ordinary wireless remote kit (1 x waterproof transmitter CWB-2 and 1 x receiver S1PX-AC), 1 x American plug power cord, 1 x American power outlet, 1 x waterproof case (100mm x 68mm x 50mm) and 2x PG9 waterproof connectors. This receiver S1PX-AC is AC power input and output, its maximum load is 15A. The maximum remote control distance for this wireless remote control kit is 50 meters, and the transmitter is waterproof. If you want control farther distance, you can use another wireless remote control kit (Model 0020059 (S1PX-AC-ANT3 & CB-1/CB-2).
- Test the transmitter and receiver to determine whether work:
2-1 First match between the transmitter and receiver, the operation is as follows:
1) Press the learning button of receiver for 1- 2 seconds; signal LED on the receiver is on. The receiver enters into status of LEARNING.
2) Press any one button on transmitter. If signal LED flashes quickly 15 times and turns off, it means learning is successful.
2-2 Test remote control function
Connect 120VAC power to the input terminals of the receiver and use the voltmeter to measure the receiver output terminals.
When pressing the button A on the remote control, the voltmeter shows the voltage is 120V.
When pressing the button B on the remote control, the voltmeter shows the voltage is 0V.
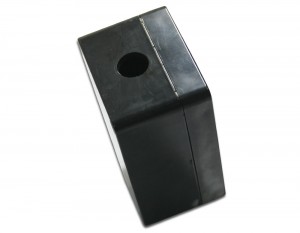
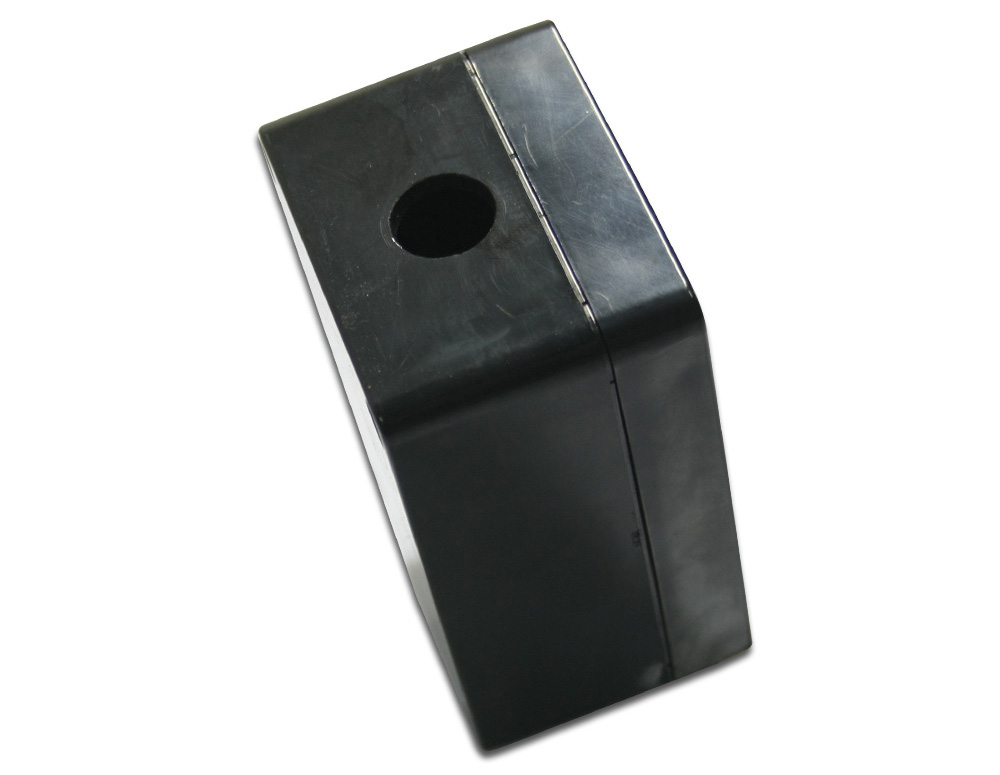
- Drill two holes 15MM in diameter on the waterproof shell, as shown:
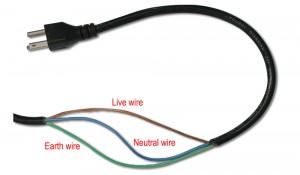
- Peel off the power cord from the middle of the American plug and separate these three wires, which are live wire, neutral wire, and earth wire. As shown:
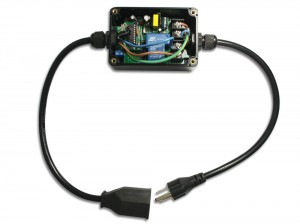
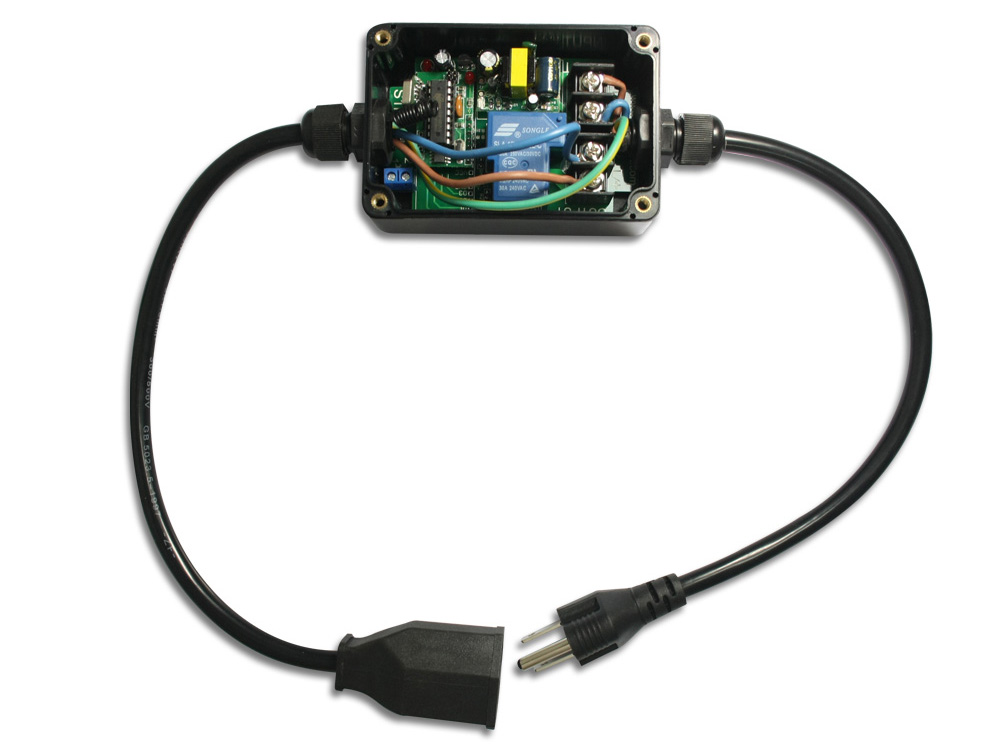
- Fixed circuit board in the waterproof shell, and fitted with two waterproof connectors.
- Install the American plug power cord:

Cut the live and neutral wires of the American plug power cord from the middle.
Connect one end of the live wire to to the input terminal “L / +” of the receiver, and connect the other end of the live wire to the output terminal “L / +” of the receiver.
Connect one end of the neutral wire to the input terminal “N / -” of the receiver, and connect the other end of the neutral wire to the output terminal “N / -” of the receiver.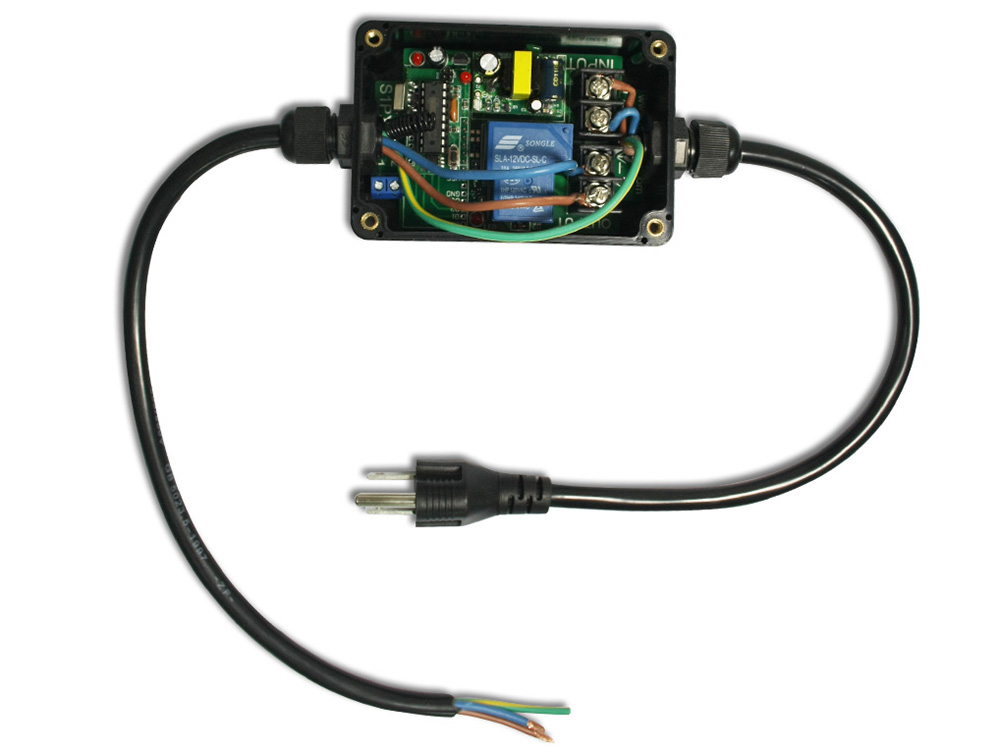
- Install the American outlet: Connect the output of the power cord to American
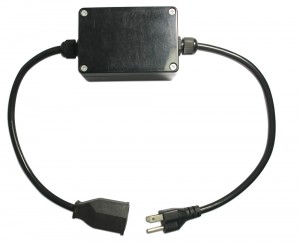
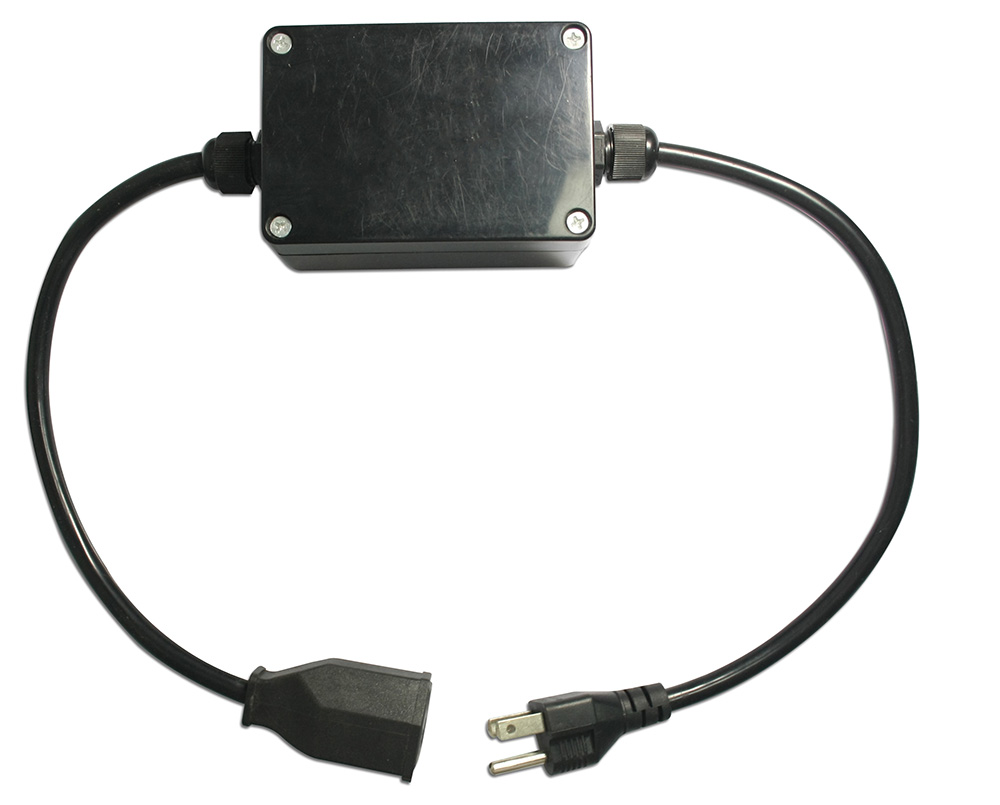
- Close the lid. DIY wireless remote outlet installation is completed.
- Test: Plug a AC fan into its outlet, then plug the outlet into 120VAC power and turn on the fan switch. The fan works when button A on the transmitter is pressed; and the fan stops working when button B on the transmitter is pressed.
In addition, we also sell other models of wireless remote control outlet. Such as the British wireless remote control outlet (model 0020712), European wireless remote control outlet (model 0020716), European waterproof wireless remote control outlet (Model 0020718), American wireless remote control outlet (Model 0020714). For product information available online shop search, more information, please visit Carymart.com.
 Follow